Wearing a face mask in public has become a given. Whether you make your own fabric masks, buy disposable surgical masks or reusable masks, or use a scarf or bandana, you are helping contain the spread of viruses.
Early on, when disposable masks were impossible to find, I attempted to make my own fabric masks using patterns I found online. Using my bare-bones sewing machine, it took me hours to make just one mask. The instructions recommended using some type of wire along the top edge so that the mask could be shaped over the bridge of the nose. I tried the floral wire I had on hand, but it was so thin that the mask was constantly losing its shape, causing it to fall down on my face.
Then I read to try twisting together two wire bread ties, which was a little better, but still not great. I saw that there are adhesive pieces of flexible metal, but these won’t hold up to repeated washing of fabric masks.
Disposable Masks
When I finally did get some disposable masks, I found that the flat metal bar built into those masks worked better than any of the homemade solutions. Yes, they require occasional readjustment, but their flat shape seemed to help them hold their curve longer than skinny wires do. The drawback though is the cost of these disposable masks, which can add up quickly if you need to change these out once (or more) per day, or you are masking up your whole family.
Some Problems with Store-Bought Fabric Masks
Lots of retailers have jumped on the bandwagon and now sell fabric face masks. Some apparel manufacturers have shifted from making clothing, and instead, use their fabric to make masks. There are now a variety of styles and patterns to choose from, ranging from solid, basic masks, to ones with designs to match your outfit, and others with clever sayings to personalize your mask.
In the rush to get these masks into stores, however, manufacturers did not do as much “fit testing” as they might ordinarily do. As a result, many (if not most) of these masks are ill-fitting. Some have elastic that is so tight that the mask pops off your face like a slingshot. Others use thick ear loops that hurt your ears. Some have elastic that is too long so that the mask is droopy. Still others have so much surface area of fabric that it ends up poking you in the eyes.
Then there are the masks that advertise that they are stretchy because they made of a polyester blend or spandex. These seem to be great at first since they fit a variety of faces. However, since these are synthetic fabrics, they quickly become very hot to wear or trap the moisture in, leading to the new phenomenon of mask acne.
I have found that 100% cotton masks are more comfortable to wear for longer periods of time. But most of the cotton masks being sold do not include a nose wire, which would help to improve fit over the bridge of the nose and under the eyes.
Nose Bridges Improve Fit of Masks
While scrolling through Facebook in mid-June, I saw an advertisement from Advanced Manufacturing Enterprise for nose bridges. What caught my eye is that these flat metal pieces had small holes at each end, so that they could be stitched onto a fabric mask, or could be put between the layers of fabric in a mask and then sewn into a channel, concealing it.
This company makes two styles of nose bridges. The straight bars, which are 3 inches long, can be used on any type of fabric mask. The contoured bars, which are 4 inches long from end to end, work with contoured fabric masks. Contoured masks are ones that curve upwards to cover more of your nose, and downwards under your eyes. So the top edge of a contour mask is curvy.
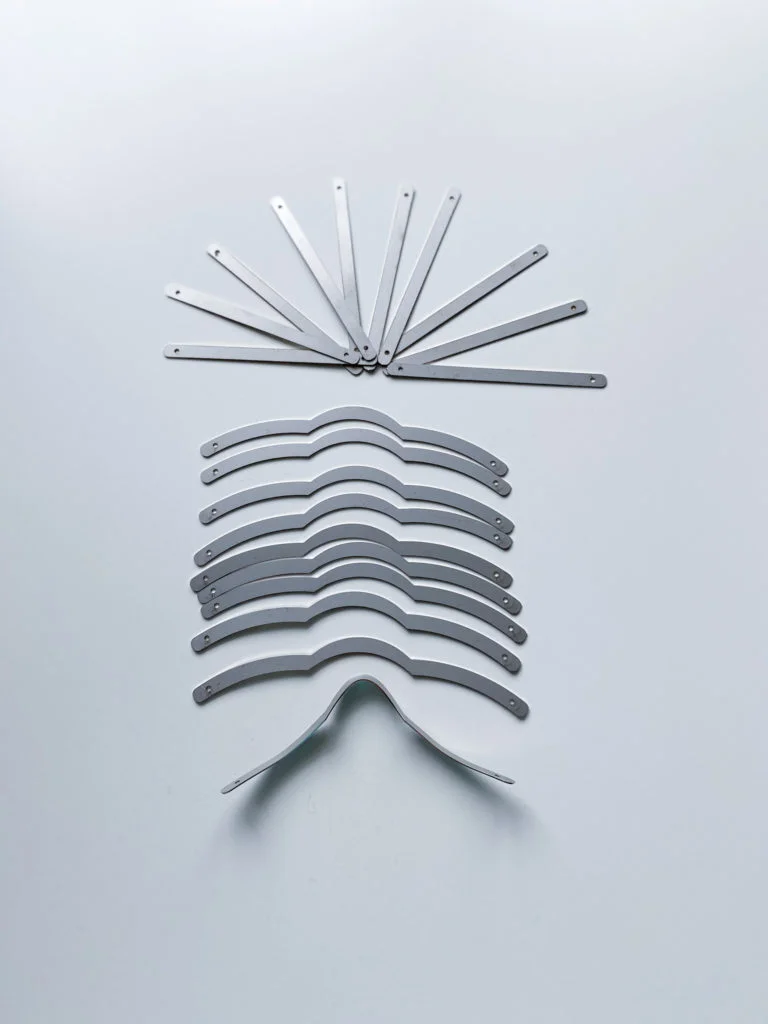
What I also like about the mask inserts made by Advanced Manufacturing is that they are made of stainless steel. This means that they will not rust after going through the washing machine. Some of the mask inserts being sold by other companies are made from aluminum, which can rust when wet. Imagine spending the time to sew these onto a mask, only to have it stain your mask with rust marks?
These nose bridges have small holes at each end, allowing them to be stitched onto the outside of the mask. Other companies sell metal nose bridges without holes, which means that you would need to stitch a pocket into a fabric mask, slide the bridge in, and then stitch it shut. If you do not have a sewing machine or your sewing skills are limited, this can be a problem.
At $4.99 for a set of 10 bridges, I figured it was worth a shot, so I ordered 10 of the straight bars and 10 of the contoured bars. They also sell them in packs of 100 for $40 to $44 depending on the style. These are made in Florida by a veteran-owned company, which also led me to want to buy from them as opposed to getting them through Amazon. I also ordered a set of mask elastics just in case I decide to make my own masks again down the road.
About a week after placing my order, the nose bridges arrived, but . . . no elastics. I sent an email to the company and received a reply just minutes later that they would send out the elastics the next day, which they did. Great customer service!
The first thing I noticed about the nose bridges was how sturdy they are. They definitely require more pressure to bend around your nose than the flimsy metal bars found in disposable masks. But once bent, they hold their shape. Even after putting them into the washing machine, they held their shape. If you try that with a fabric mask with the thin wire, those inevitably emerge from the washing machine totally folded in half. This leads me to think that eventually those thin wires will break and leave sharp edges to poke through the fabric. So these stainless steel flat bars are definitely safer!
Sewing the Nose Bridges
I decided to hand sew the nose bridges to the outside of the fabric masks I had bought, rather than attempting to make a channel pocket to conceal them on the inside. I had read up online about some experienced seamstresses who had made hundreds of masks (so they have way better sewing skills than I do!), and they reported breaking many sewing machine needles when the needle accidentally hit these stainless steel bars. So rather than get frustrated, I figured it would be easier to hand tack them to the mask with needle and thread.
The patterned masks featured in this post were purchased at the Vera Bradley Outlet store. I happened to be there on the second day they reopened, so they still had lots of patterns from which to choose. The salesperson told me they would be getting different patterns all the time. I paid $8 each, which is the same price on the Vera Bradley website, so there are no savings on masks when buying at the Outlet. They are made out of the same 100% cotton as the purses made by Vera Bradley, although I did not spot any patterns that match their current line of bags.
Even though the Vera Bradley masks only come in one size, I found that they were all too big for my face, and one mask, in particular, was about 1/4 inch taller and wider than the other masks. Since you can’t try these on in the store, it is really a gamble when you buy fabric masks. Masks are also usually not returnable, for obvious infection control reasons.
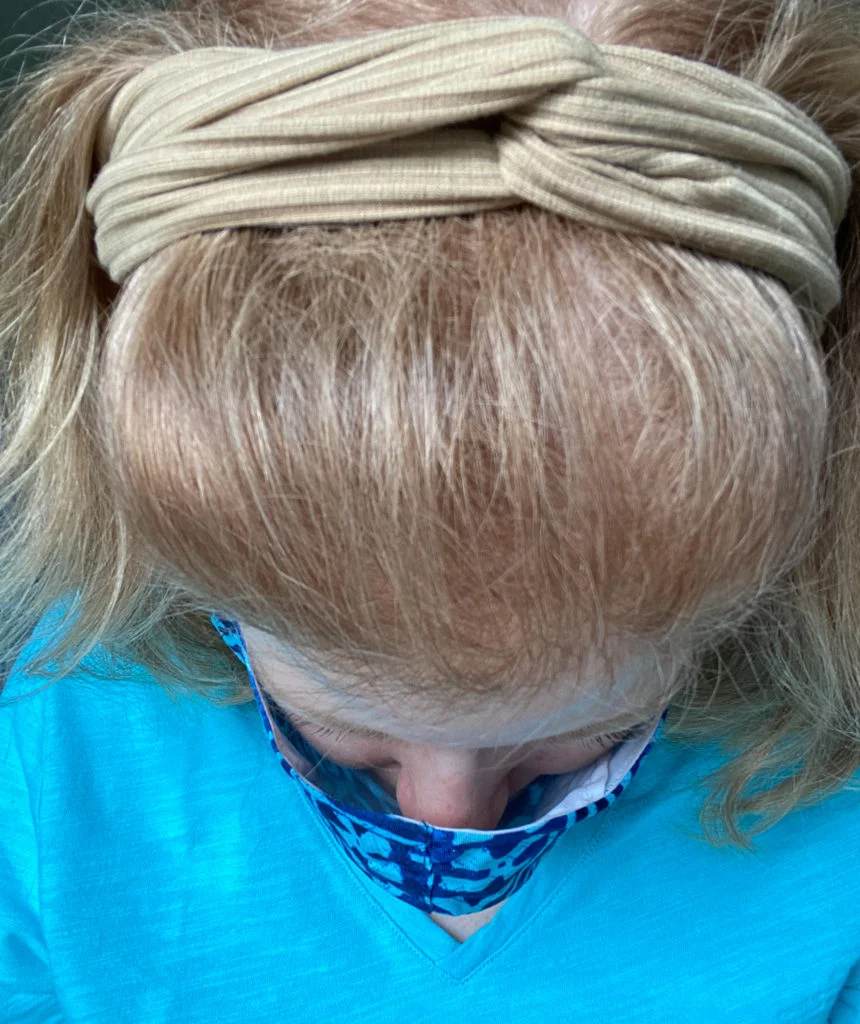
If you discover that the masks you bought are too big for your face, you might feel like it was a waste of money. But by adding a 50 cent nose bridge and a few pennies worth of thread, you can make your masks fit you perfectly!
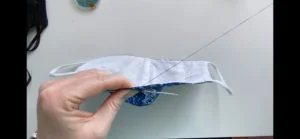
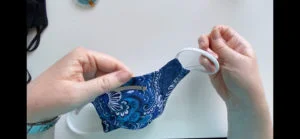
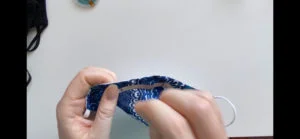
To watch my video showing how to attach a contoured nose bridge onto a fabric mask, click the image below, or go to https://www.youtube.com/watch?v=AH64kGWh9uo.
Since I had my needle and thread out, this was also the perfect time to make a quick adjustment to the sides of my masks. Some of them were loose along the right and left sides of the mask. This created a gap under my chin. While wearing the mask with the nose bridge attached, I gathered up the excess fabric along the side with my fingers by folding it once. Then I removed the mask while still pinching the fold together. Next, I used a straight pin to keep it in place. Then I made a few vertical stitches along the side edge of the mask to stitch the pleat in place. Next, I tried it on again and repeated the process along the other side of the mask.
In less than 10 minutes, I now have a mask that fits my face size and shape perfectly. This makes wearing a mask so much more bearable since it does not slide around as much. Nor does it ride up and poke me in the eyes anymore.
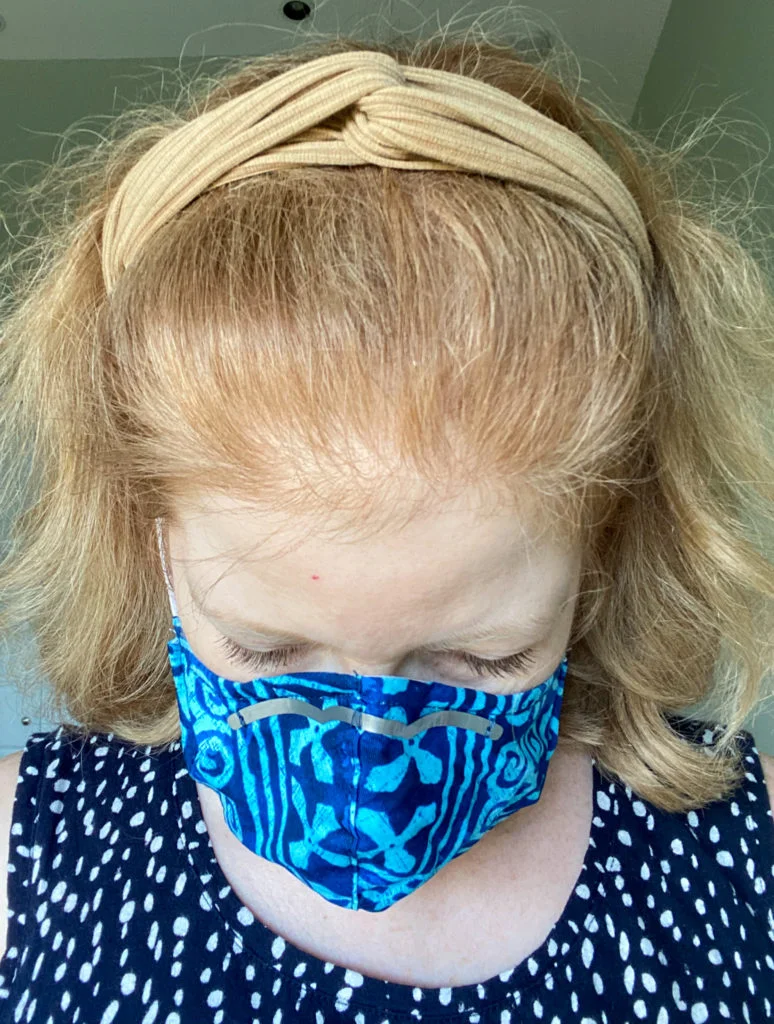
This can be a great solution for anyone who finds wearing a mask uncomfortable. It is possible that all they need is to create a better fit on whatever fabric mask they currently have. Not only that, but it makes the mask more effective when you eliminate the gaps along the edges.
Where have you found 100% cotton face masks that are comfortable and hold up to repeated washings? Share your findings in the comment section at the bottom of the page.
Step by Step Directions
How to Sew a Nose Bridge Onto a Fabric Mask
Equipment
- Fabric Mask
- Stainless Steel Nose Bridge such as https://diymaskusa.com/products/mask-insert-10-pack (for contour-shaped masks) or https://diymaskusa.com/products/mask-inserts-flat-with-holes-10-pack (for any masks)
- Sewing Needle
- All-Purpose Thread (preferably in a color that coordinates with the outside of your mask)
- Pair of scissors
Instructions
- Pre-wash and dry your mask according to package directions. If there are no directions, machine wash warm, and let air dry.
- Thread a sewing needle, and then pull the thread halfway through so it is doubled onto itself. Tie a knot at the end of the thread.
- Find the center of the top edge of the mask. For contour masks, there is usually a vertical seam running down the center.
- Poke the needle through the back of the mask at the center point, just below the horizontal row of stitches that runs along the long top edge of the mask. Pull it tight until the knot is against the fabric. Tack the nose bridge onto the outer layer of the mask by centering it where you pulled the thread through. Then insert your needle right next to the opposite edge of the bridge, and pull through to the back.
- Repeat Step 4 two more times.
- With your needle now pulled through the back of the mask, weave your needle under the stitches three times, then knot it. Cut off the excess thread.
- Knot the end of your thread. Use one hand to hold the bridge securely at the center point of the mask, and use your other hand to carefully smooth the fabric towards one of the ends of the metal bridge. Starting from the back side of mask, pull your needle up through the layers of fabric and through the hole at the end of the nose bridge. Make three stitches that go up over the top edge of the metal piece, and three stitches that go over the bottom edge of the metal piece. With your thread on the back side of the mask, weave it 3 times through the stitches, and then make a knot. Trim the excess thread.
- Repeat step 6 on the opposite end of the metal bridge.
- Put on your mask. Press down on the nose bridge to shape it around the bridge of your nose. The fabric should now rest snugly along the top of your nose, and down towards your cheeks.
- Wash and dry your mask again before wearing.
Video
Notes
- If it is difficult to find the hole with the needle when coming up through the back of the mask, you can instead come up through the fabric either just above or below the long edge of the metal bar, and then down through the hole in the bar.
- When you try on your mask after attaching the nose bridge. check to see if the sides rest snugly along your cheeks. If not, you can pinch up the fabric along the sides and pin it with a straight pin. Then use your needle and thread to stitch down the new pleat you made. This will also help to prevent gapping or drooping under your chin.
- To extend the life of your mask, do not put it in a clothes dryer if it has elastic ear loops, as heat will cause the elastic to break down. Instead, air dry the mask.



2 Responses
I’ve been looking for a post like this! I have a few fabric face masks but without the wire and they keep slipping down. I’m definitely going to try out this design. Thank you!
The nose bridge really makes such a difference. This is a great add-on to salvage fabric face masks that are otherwise unwearable since they are too loose.