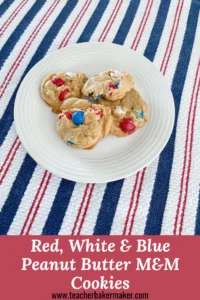
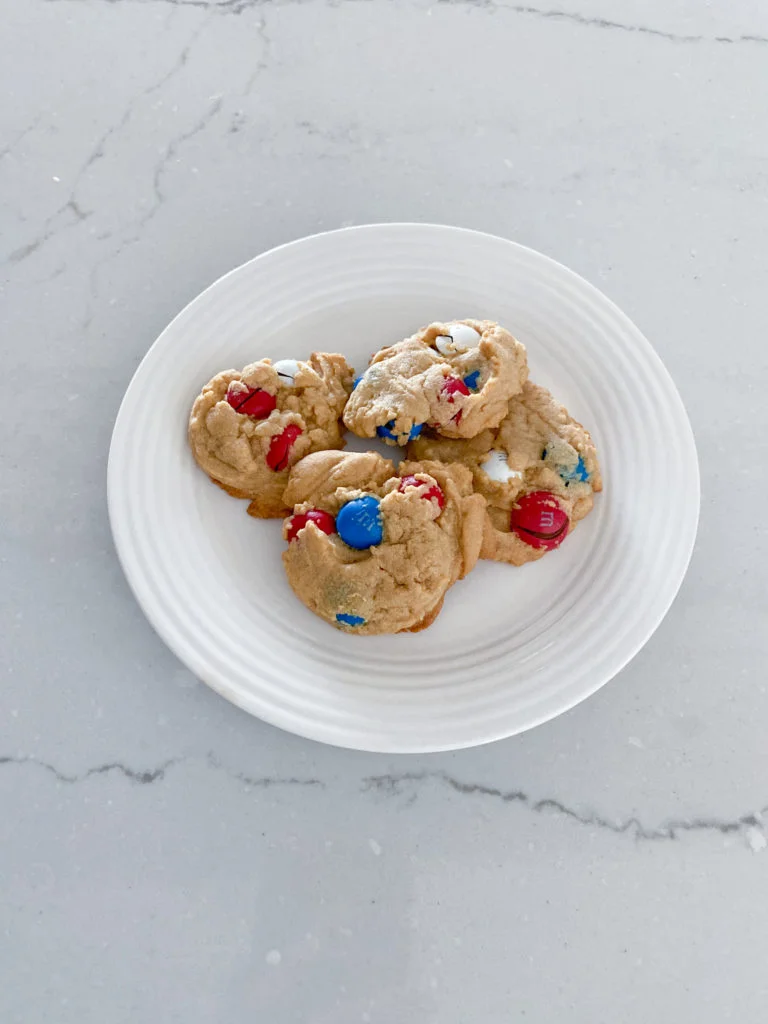
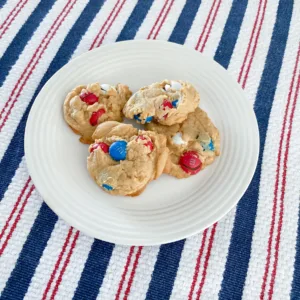
The 4th of July traditionally involves getting together with friends and family at a barbeque to celebrate our independence. These red, white and blue peanut butter M&M cookies made with peanut butter M&M’s (yup, double peanut butter!) are a crowd-pleaser. They not only look patriotic, but they hold up well in hot and humid conditions.
Whenever I go to a get-together, I bring some type of dessert. On the 4th of July, patriotic colors have always been incorporated into the baked goods, whether it be red, white and blue cake batter, red, white and blue icing, red, white and blue sprinkles . . . well, you get the point!
This year created a new challenge though. My friends and I have not seen each other in person since Super Bowl Sunday due to the stay at home orders in our area. We decided that rather than get together at someone’s house this year, we will instead meet up at a parking lot and have a socially distanced get together for a short time. I wanted to bring a dessert that is already divided up into portions since we won’t have ready access to a sink to clean up.
Then I remembered the peanut butter M&M cookies I have made the past couple of years for a cookie dough exchange at Christmas time. I had originally found this recipe at https://sallysbakingaddiction.com/peanut-butter-mm-cookies/. The first time I made them, the store didn’t have any red and green plain M&M’s, so I bought the peanut butter filled M&M’s and hoped for the best. They were a big hit, especially amongst peanut butter lovers.
So after a quick search in the Target app, I discovered that the red, white, and blue peanut butter M&M’s were in stock at the store up the road. They were on the end cap of the candy aisle, and are even on sale this week. Score!
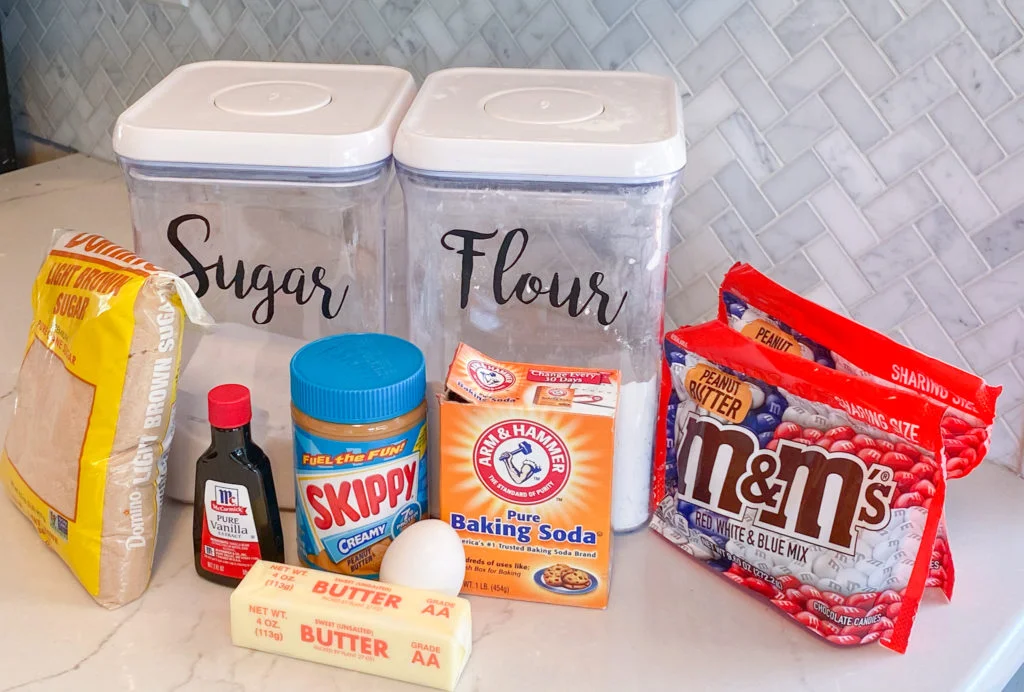
The rest of the ingredients are pretty common pantry items: butter, brown sugar, white sugar, egg, peanut butter, vanilla extract, baking soda, and flour.
[My blog posts contain affiliate links. These don’t cost you anything, but they allow me to continue running this site and providing free content for my readers. Full disclosure here.]
Ingredients
- 1 stick (1/2 cup) unsalted butter at room temperature
- 1/2 cup packed light brown sugar
- 1/4 cup granulated sugar
- 1 large egg
- 3/4 cup creamy peanut butter
- 1 teaspoon vanilla extract
- 1/2 teaspoon baking soda
- 1 1/4 cups all-purpose flour
- 1 1/2 cups peanut butter M&M’s (One 9.6 oz bag)
Directions
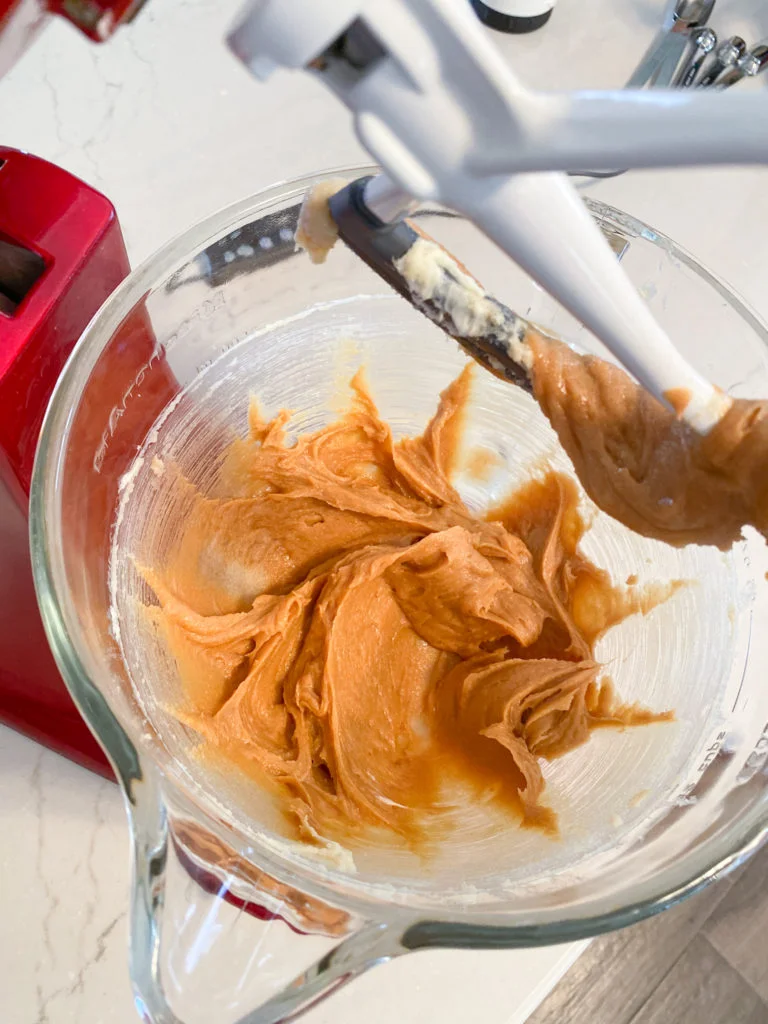
- Cream the butter, brown sugar, and granulated sugar together in a large bowl using a stand mixer or hand-held mixer on medium speed (about 20-30 seconds). Scrape down the side of the bowl with a rubber spatula.
TIP: Put the stick of butter out on your counter for at least 30 minutes to bring it to room temperature. It will be the perfect consistency to beat with your mixer and combine with the sugars.
2. Add the peanut butter and mix until incorporated.
3. Add in the egg and mix for a few seconds. Then add in the vanilla and mix for a few seconds.
4. Mix in the baking soda and flour by starting off on the slowest speed, and then. Just do this long enough for these to be incorporated. Optional: If you used unsalted butter, you can add 1/4 tsp salt in this step.
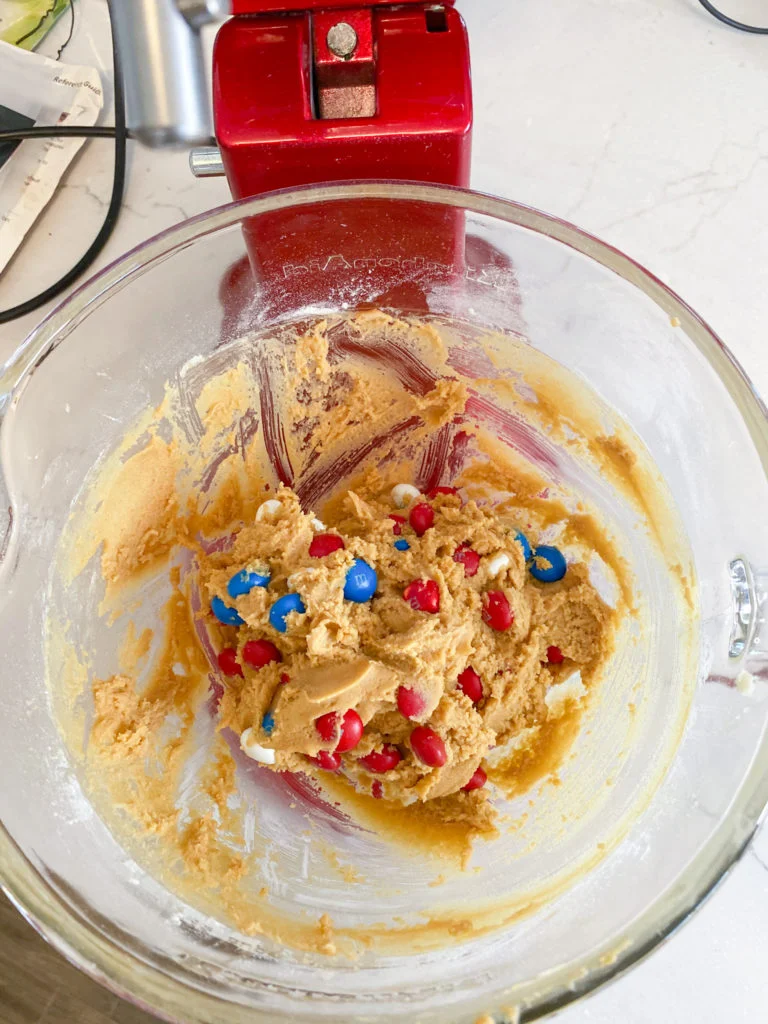
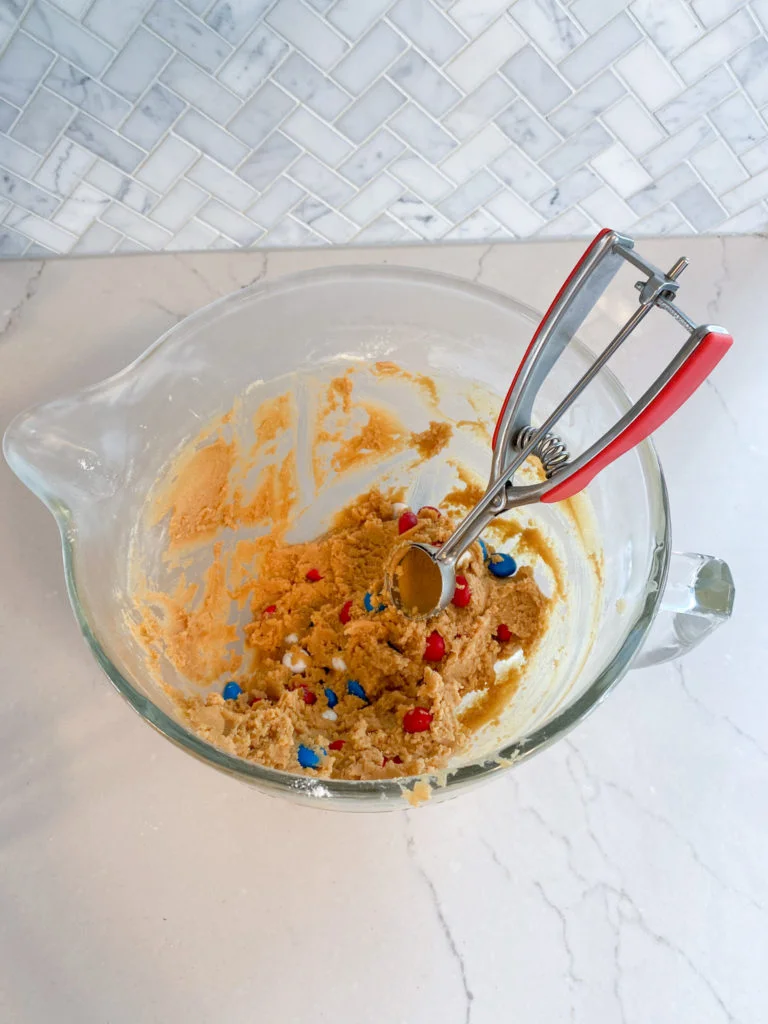
5. Fold in the M&M’s with a wooden spoon.
6. Put the bowl in the refrigerator for at least 30 minutes.
7. Preheat the oven to 350 degrees. Using a cookie scoop (I used a tablespoon-sized scoop), drop the chilled dough on a parchment-lined baking sheet, or ungreased cookie sheet, or silicone baking mat. Using a drinking glass, gently press down on the ball of dough to flatten it slightly since these do not spread much when baking.

TIP: If you want to freeze the dough to bake at a later date, do so at this point. Put the tray of dough balls into the freezer for about 15 minutes to let them set up. Then transfer the dough balls into a zippered freezer bag. When you eventually bake these, just add a minute or two to the baking time. No need to thaw!
8. Bake for 7 to 10 minutes, until the bottoms are slightly golden brown. They will be soft while hot but will firm up a little as they cool.
TIP: Only put one cookie sheet per rack in the oven. If you put two trays on one rack, and they are touching each other or the walls of your oven, the trays will overheat and the bottoms of your cookies will burn before the rest of the cookie is baked. If they do burn, you can use a Microplane to grate off the bottom burnt layer.
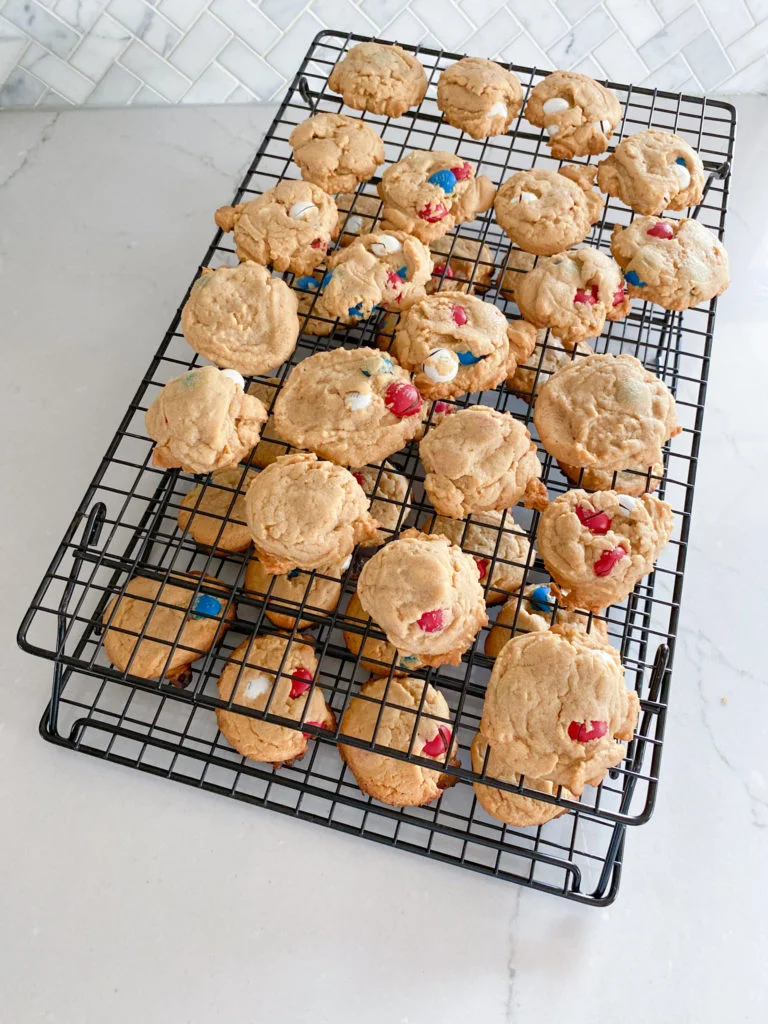
9. After a couple of minutes, use a spatula to transfer them to a cooling rack.
These can be stored in an airtight container for several days, if you don’t eat them all first.
Let me know if you make these cookies in the comment section below.
For another summery cookie option, check out these lemon lime cookies.
Red, White & Blue Peanut Butter Cookies
Equipment
- Stand Mixer or Hand Mixer
- Oven
Ingredients
- ½ cup unsalted butter softened to room temperature
- ½ cup packed light brown sugar
- ¼ cup granulated sugar
- 1 large egg
- ¾ cup creamy peanut butter
- 1 tsp vanilla extract
- ½ tsp baking soda
- 1 ¼ cups all purpose flour
- 1 ½ cups peanut butter M&M's 9.6 oz sharing size bag
- ¼ tsp salt only if using unsalted butter
Instructions
- Cream butter, brown sugar, and granulated sugar together in a large bowl with a stand mixer or hand mixer on medium speed.
- Mix in the peanut butter until incorporated.
- Add the egg and mix for a few seconds.
- Add the vanilla and mix for a few seconds until incorporated.
- Slowly mix in the baking soda, flour, and 1/4 tsp salt (if using unsalted butter) just until incorporated.
- Fold in the M&M's with a wooden spoon
- Chill the dough in the refrigerator for at least 30 minutes.
- Preheat oven to 350°. Line a baking sheet with parchment paper or a silicone baking mat.
- Using a tablespoon sized cookie scoop, drop dough onto cookie sheet. Press down on dough balls with a drinking glass to flatten slightly.
- Bake for 7-10 minutes, until the bottoms are slightly golden brown.
- After cooling on the cookie sheet for 2 minutes, use a spatula to transfer cookies to a cooling rack to cool completely.
Notes