
When I saw a photo on Pinterest of wine bottles that had been painted in beachy colors and decorated with twine and burlap, I just knew I had to create my own version of it. These Beach Bottles are easy to make, and a good way to upcycle empty glass bottles.
[My blog posts contain affiliate links. These don’t cost you anything, but they allow me to continue running this site and providing free content for my readers. Full disclosure here.]
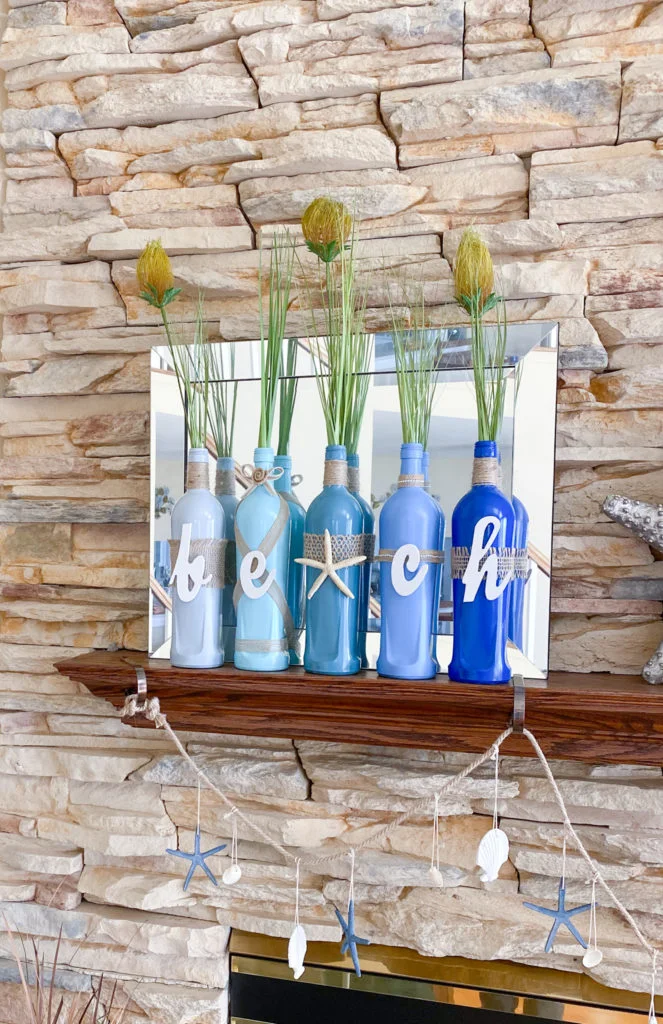
I have a carton full of empty glass Ningxia Red bottles. These are the same types of bottles that I used for the Patriotic 4th of July bottles. Ningxia Red is a wolfberry juice made by Young Living and is infused with essential oils. (If you would like to join Young Living to get a wholesale discount, click here. Disclaimer: This is my Distributor link.) I go through two bottles a month as part of my daily wellness regime. I don’t want to just toss them in the trash (my town does not take glass with the recycling anymore), so I like upcycling them into decor that I display on my mantle.
These bottles are about the same size as a typical wine bottle, so this craft can also be made with those bottles too. Since some wine bottles are blue glass, you could even leave them “as is” instead of painting them.
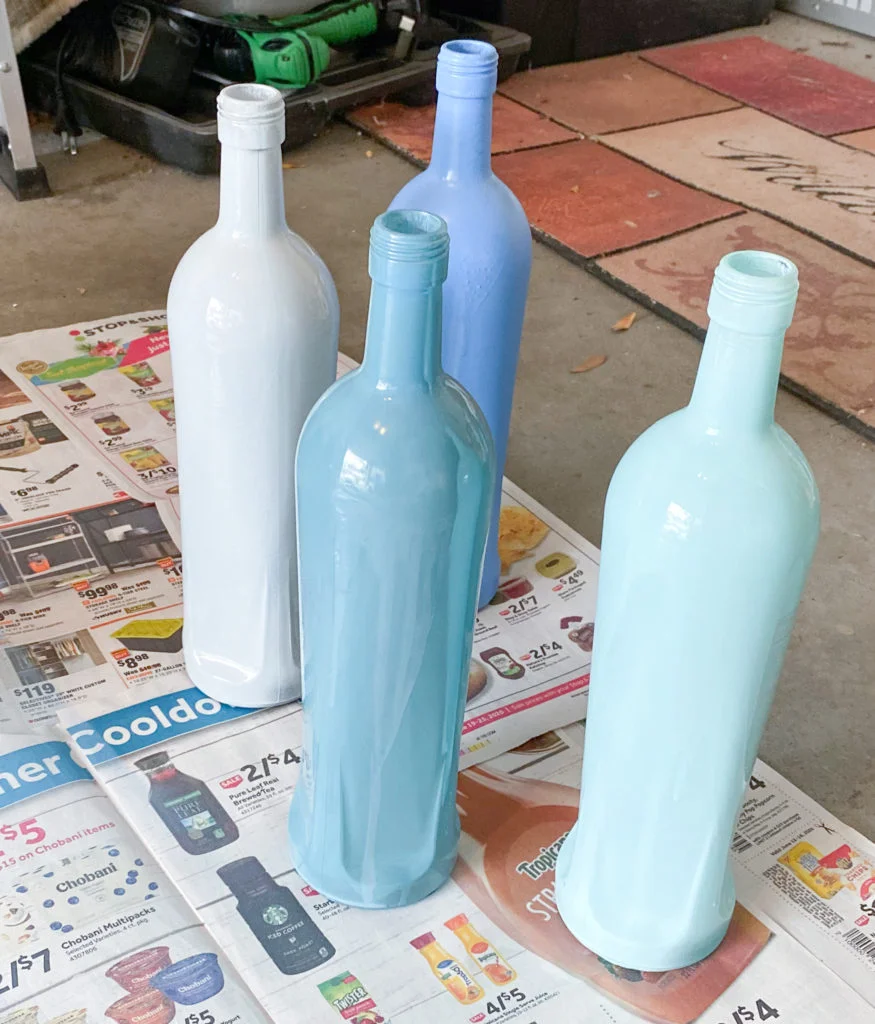
A beach glass ombre effect is the look I was going for, so I used five different shades of paint. I had some leftover Krylon Gloss Blue Ocean Breeze ColorMax Paint + Primer, and Rust-oleum Gloss Deep Blue Ultra Cover Paint + Primer, so I used those as a starting point. Both brands are very similar in quality in my experience. But as you can see from the photo below, the Krylon caps are hard to take off. I guess I must have small hands because I couldn’t get a good enough grip to get the cap off, so I ended up smashing it with a hammer. Oops. But it did the trick!

Lowe’s had the Krylon Gloss Bahama Sea on clearance, so I don’t know if I just lucked out, or if this color is being discontinued at Lowe’s. I love me a sale, so this was a score! Lowe’s didn’t have any other glossy shades of blue, so I picked up the Rust-oleum Solstice Blue and Spa Blue at Home Depot.
The Spa Blue can is labeled as a gloss, but when compared to the other colors, the Spa Blue has more of a semi-gloss, almost textured appearance. I don’t know if the can was mislabeled, or this was just an “off” batch, but the difference is not that noticeable.
There is plenty of paint left in each spray can after putting two coats on the glass bottles, so these will be stashed away until my next project!
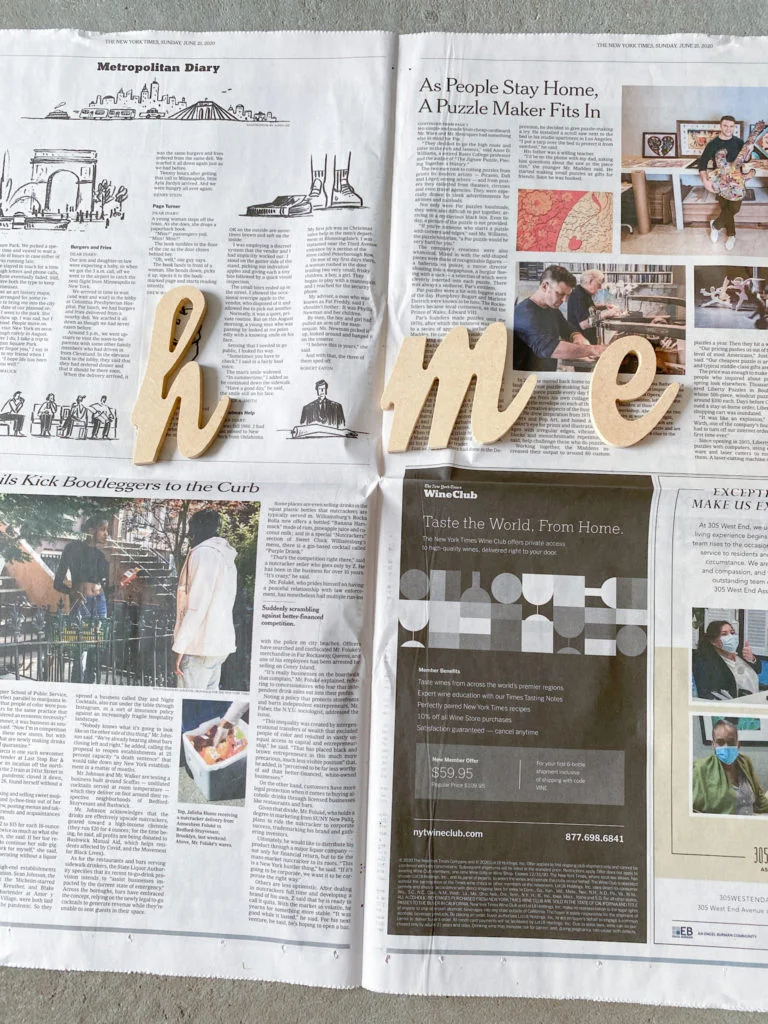
I had originally planned on making four bottles, spelling out “HOME” with a sand dollar standing in for the “o.” I liked the cursive MDF letters from Hobby Lobby, so I used some gloss white spray paint to coat those.
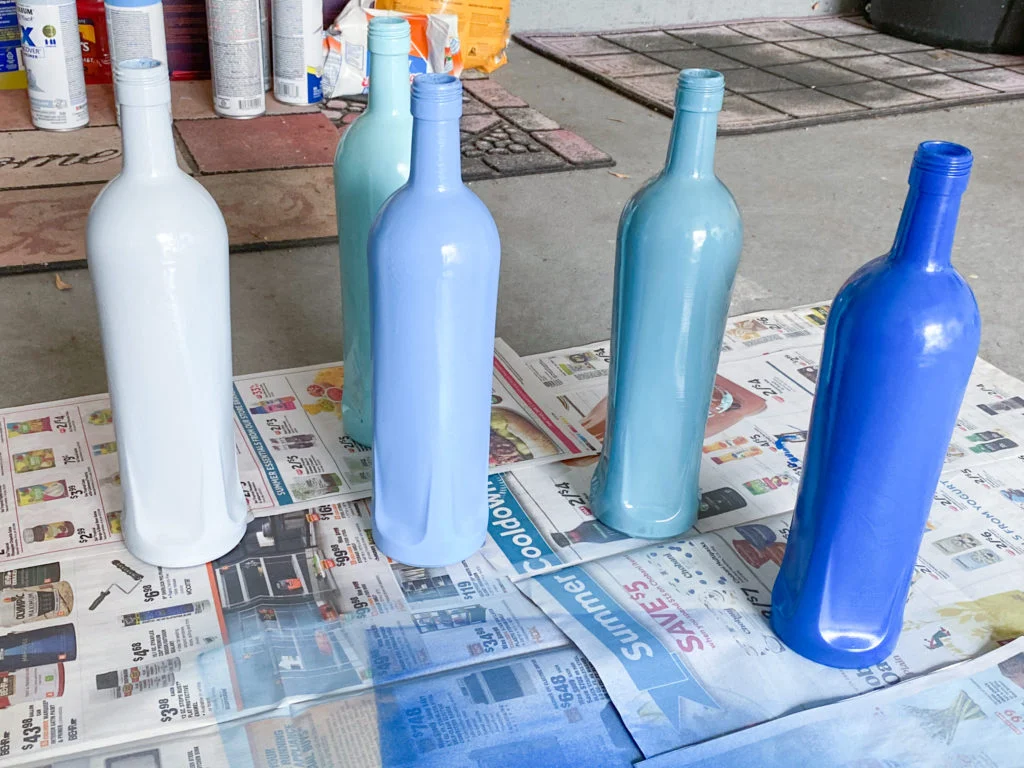
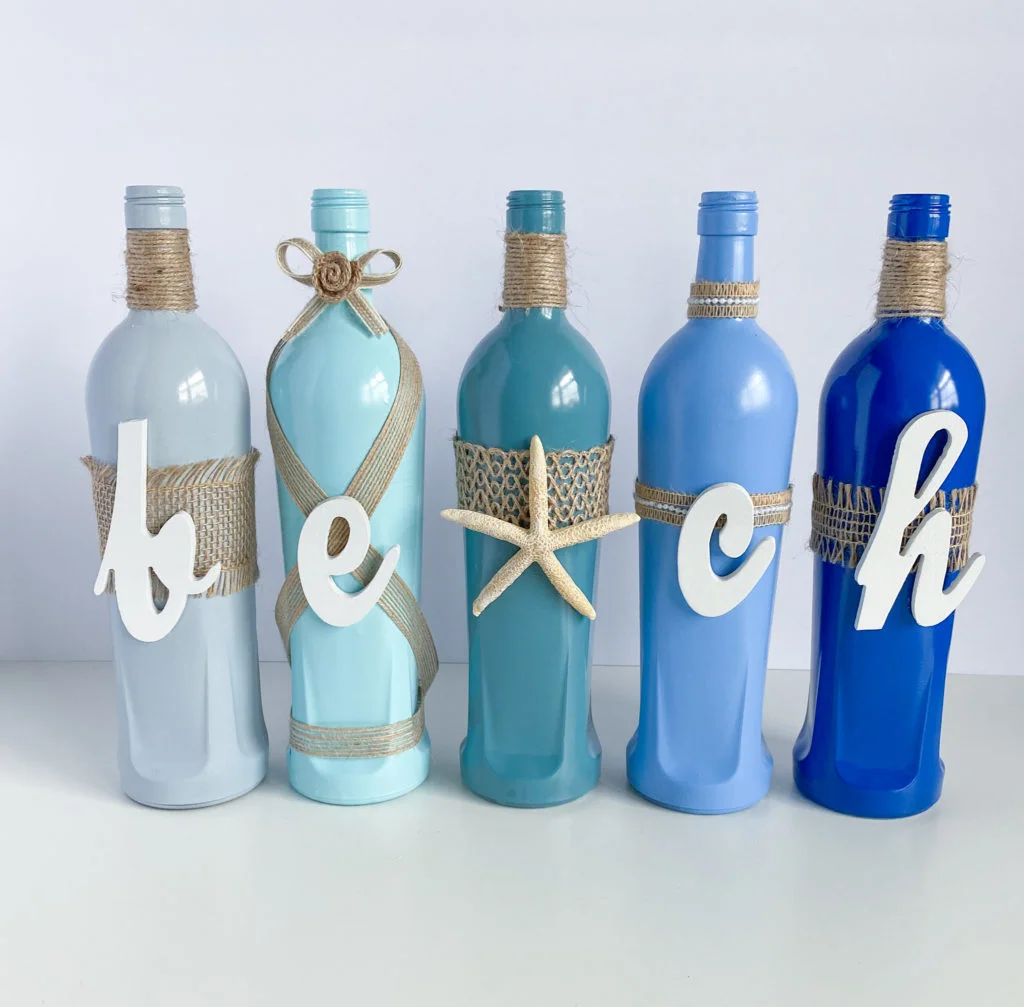
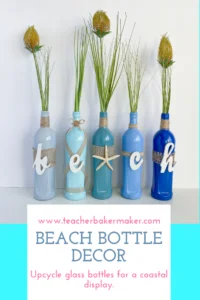
Since I wasn’t sure which four shades of blue I would like, I painted five bottles in the five shades I had. I ended up loving them all, so I changed up my plan to spell out “BEACH” instead. Back to Hobby Lobby to buy a “b” and a “c.” A sea star stands in for the letter “a.” I had an assortment of shells and sea stars from a vase filler set I bought a few years back.
Supplies
- Glass bottles – you can use a combination of different heights and shapes if you want to
- Trifold board or cardboard box to use as a spray box
- Newspaper or drop cloth
- Spray paint – I used Rust-Oleum 2X Ultra Cover Paint + Primer in Gloss White, Gloss Solstice Blue, Gloss Spa Blue and Gloss Deep Blue, and Krylon Color Maxx Paint + Primer in Gloss Blue Ocean Breeze and Gloss Bahama Sea
- Rubber gloves and a mask
- MDF letters – b, e, c and h
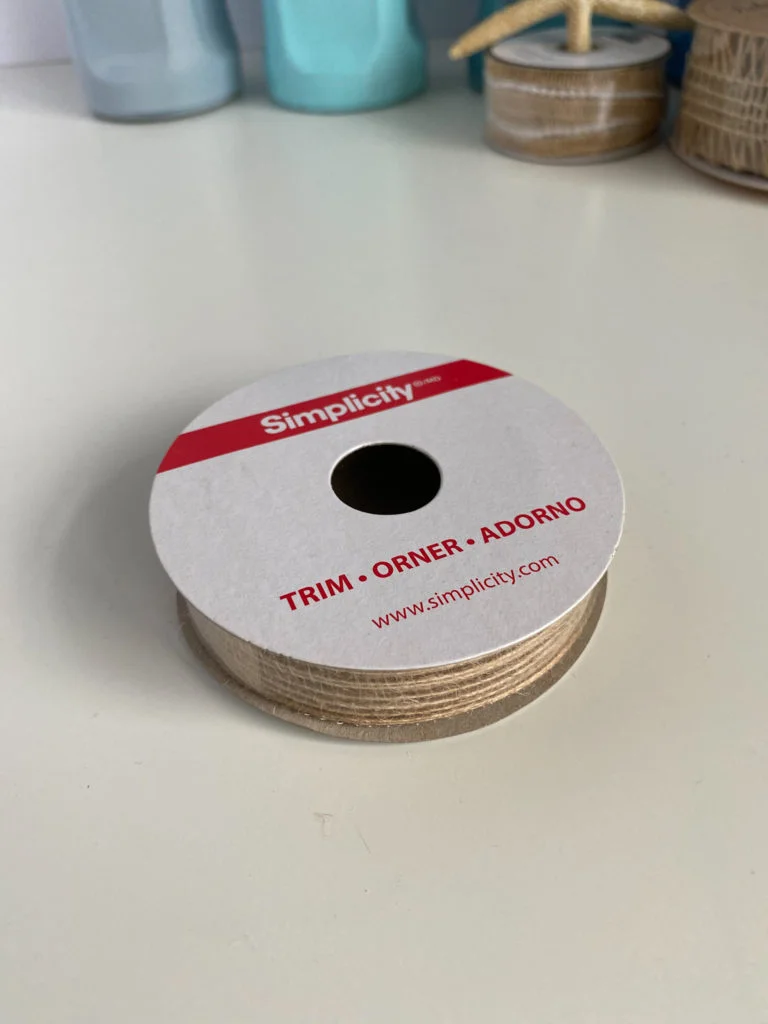
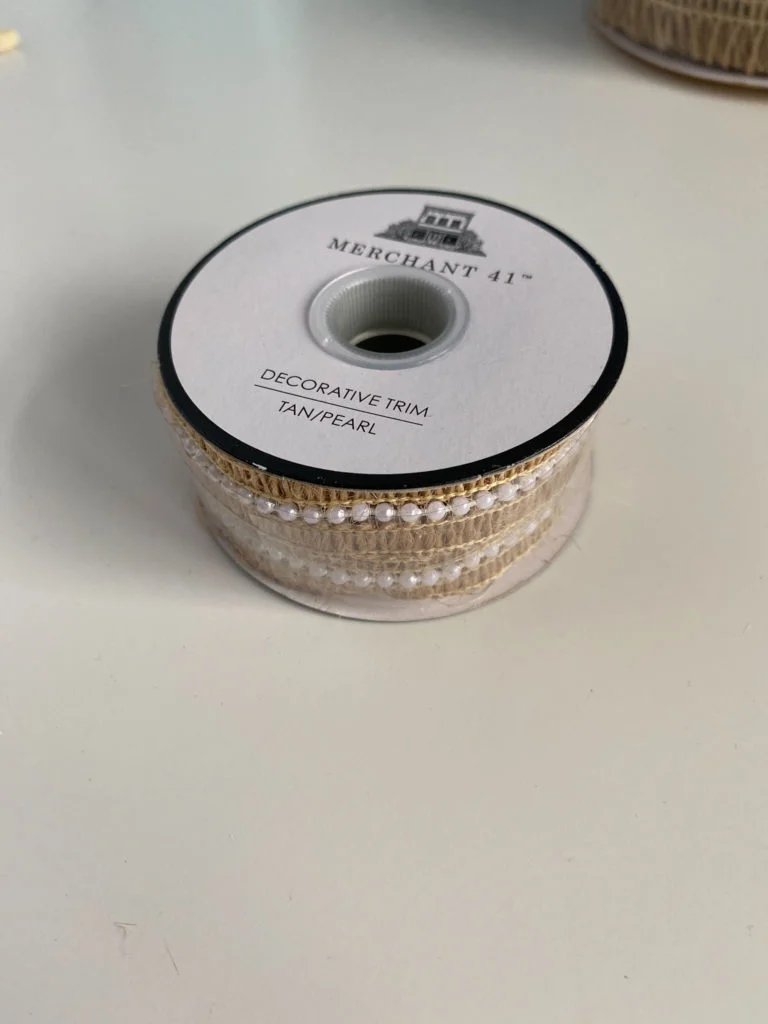
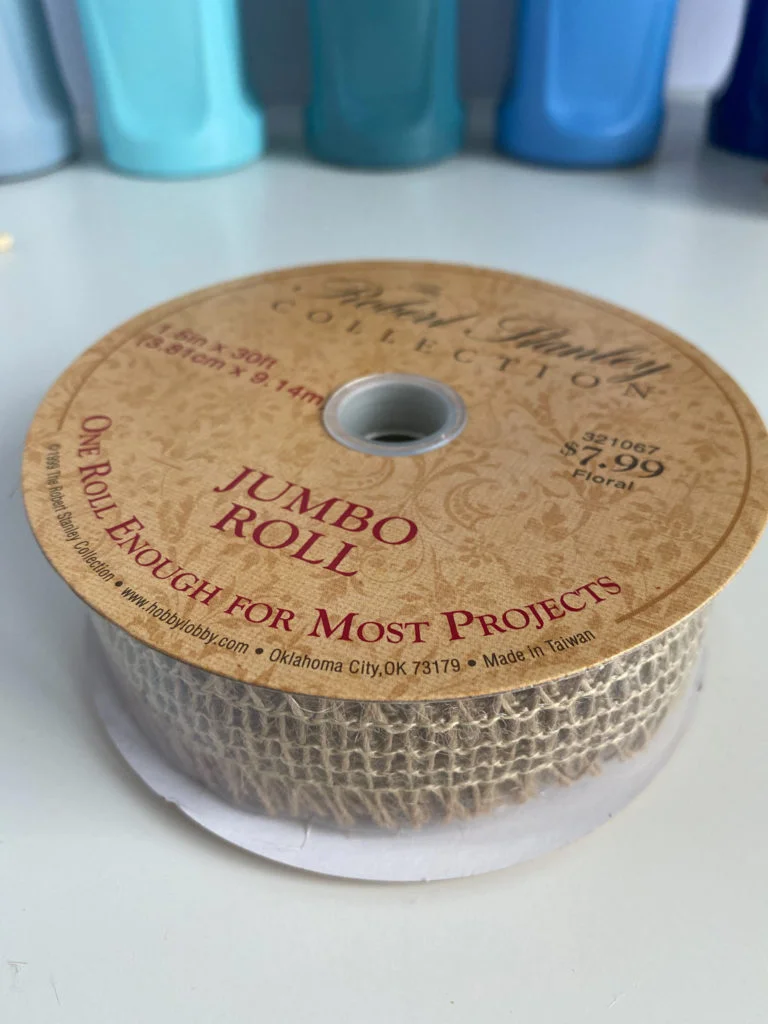
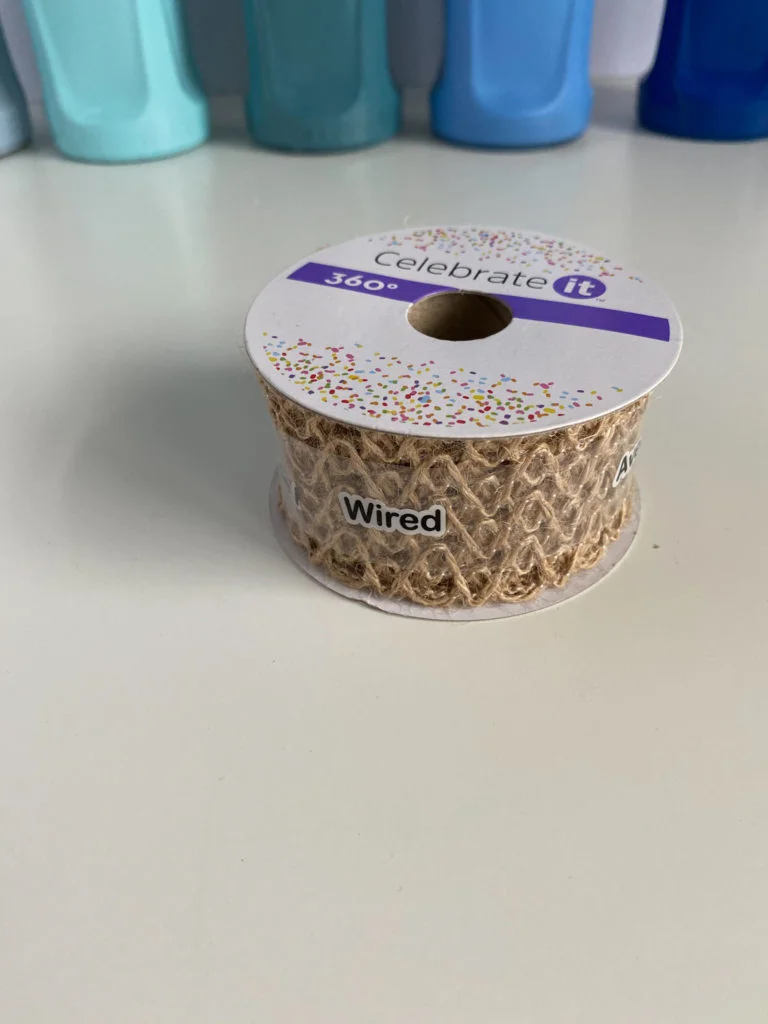
- Assorted burlap ribbon – 1.5 inch frayed, 5/8 inch with pearls, 2 1/2 inch frayed, 1 1/2 inch crocheted, and 5/8 inch plain
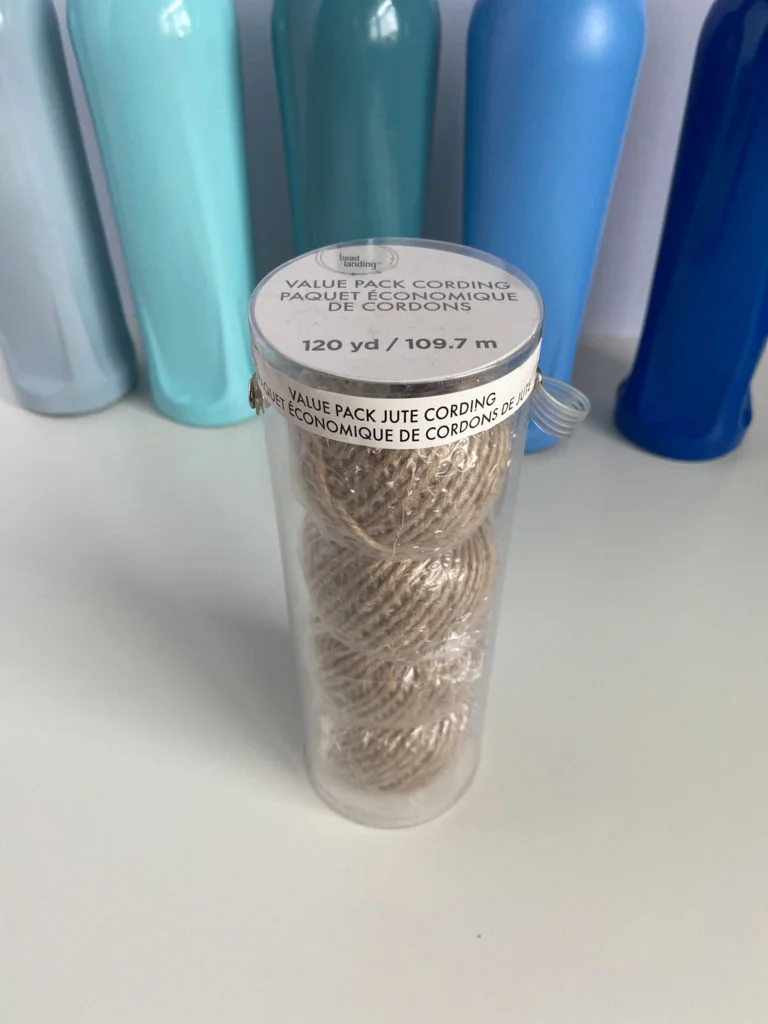
- Jute Cording
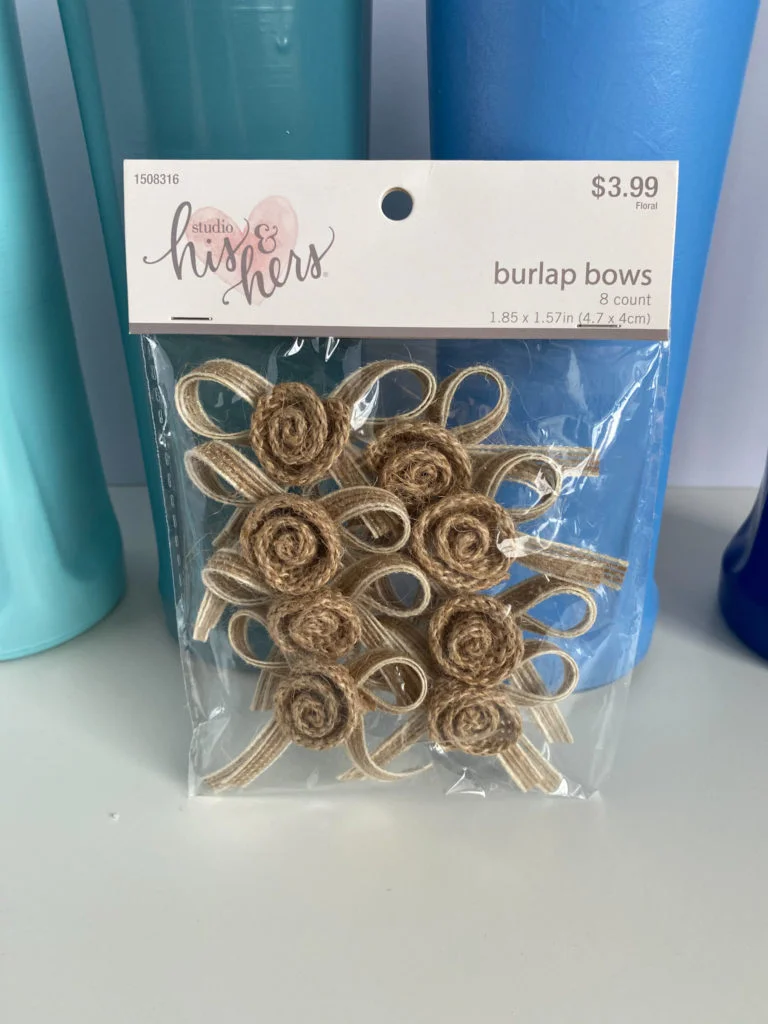
- Burlap bows
- Sea star
- Hot glue gun and glue sticks
- Onion grass (1 spray can be divided up between all 5 bottles.)
Directions
Painting
Since the Ningxia Red label is permanently painted onto the frosted glass exterior, it cannot be removed. If you are using wine bottles, you can soak off the labels and then use an adhesive remover such as lemongrass oil or Goo Gone to create a smooth surface.
I like to set up a “spray booth” in my garage rather than doing this on the lawn because I don’t want grass or pollen to blow and stick to the wet paint. I use a cardboard tri-fold board from the dollar store and use it over and over again.
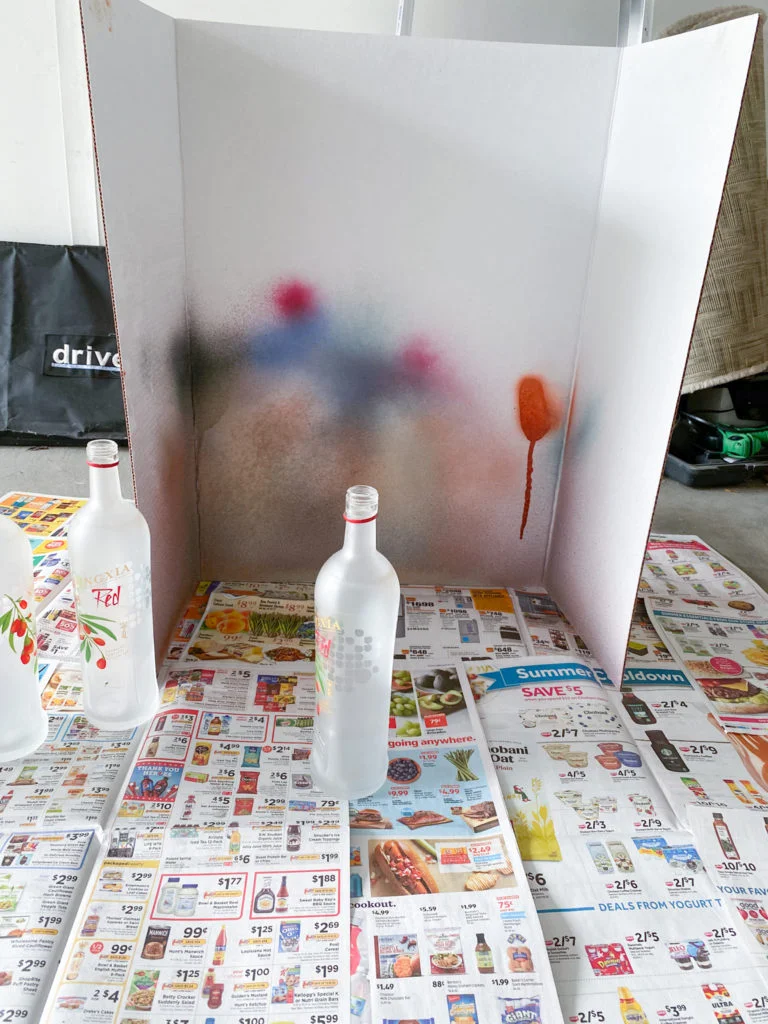
Wear rubber gloves and a mask. Even with no breeze, you are bound to inhale some of the fine overspray, so masks are very helpful. Also, wear old clothes and shoes just in case the overspray lands on you.
Follow the directions on the can, which generally say to shake the can for 60 seconds. Spray from a distance of about a foot away. Spray on just a light first coat, no matter how tempting it might be to try to cover everything with a thick coat. A thick coat is bound to run, which will leave unsightly lumps on your finished product.
Make sure that you move your freshly painted bottle far enough away so that when you spray a different color on the next bottle, the overspray won’t reach the other bottles. I wear rubber gloves, so I move them by sticking my pointer finger in the neck of the bottle
You only have to wait a couple of minutes between coats. These bottles took two coats, although the blue ocean breeze took 3 coats to cover the print on the label on the bottle.
In the meantime, spray paint the letters. I found that it was better to lightly sand the surface of the MDF letters so that the paint adheres more easily. You can see here I still was going for the “home” style.
Let the paint dry overnight.
Decorating the Beach Bottles
I bought an assortment of burlap ribbon at Hobby Lobby, Michael’s, Joann’s Crafts, and Walmart since I wanted each bottle to have a different style.
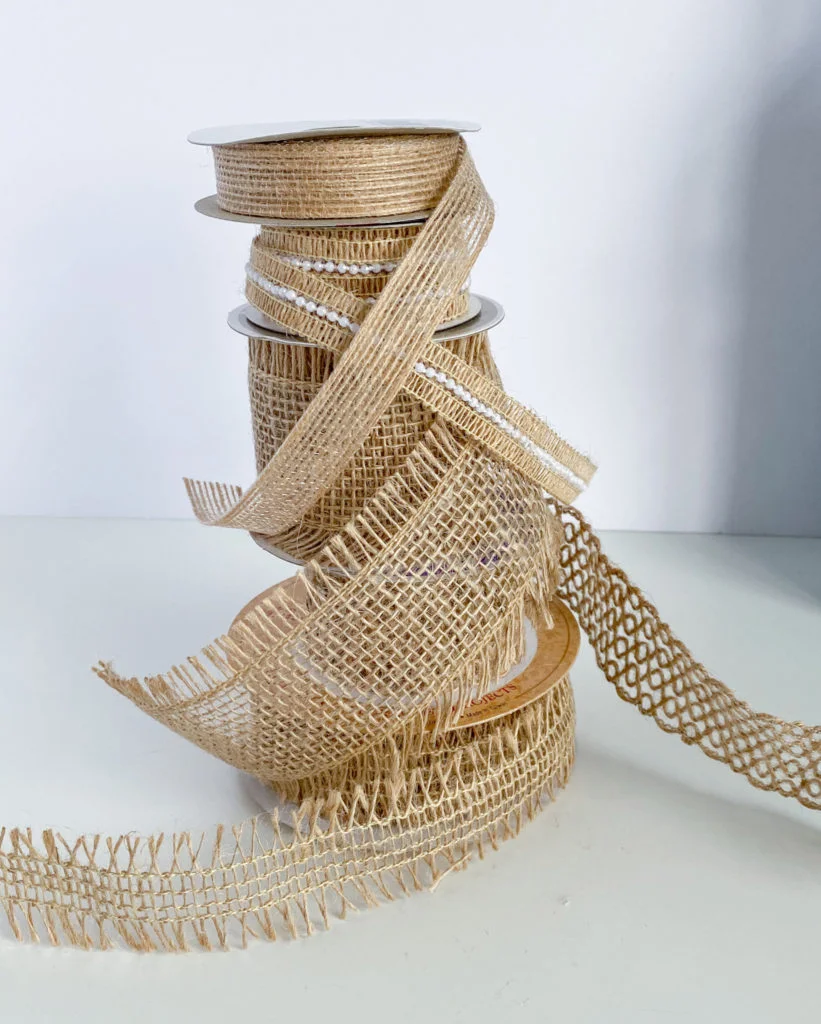

I also used some twine and burlap bows.
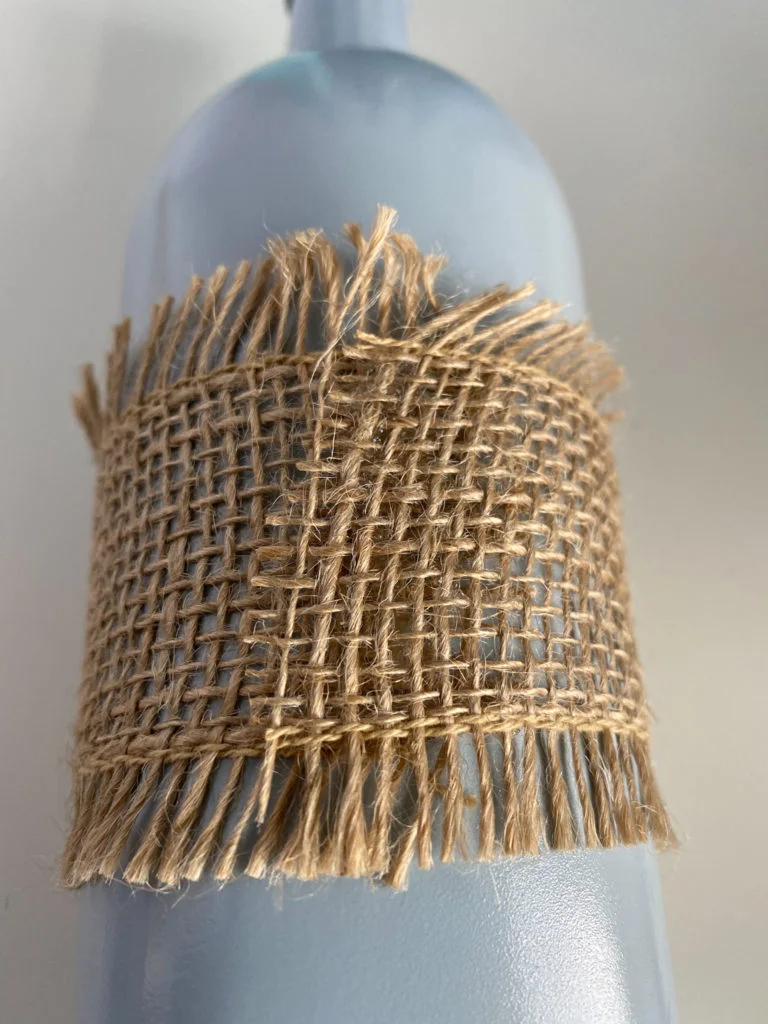
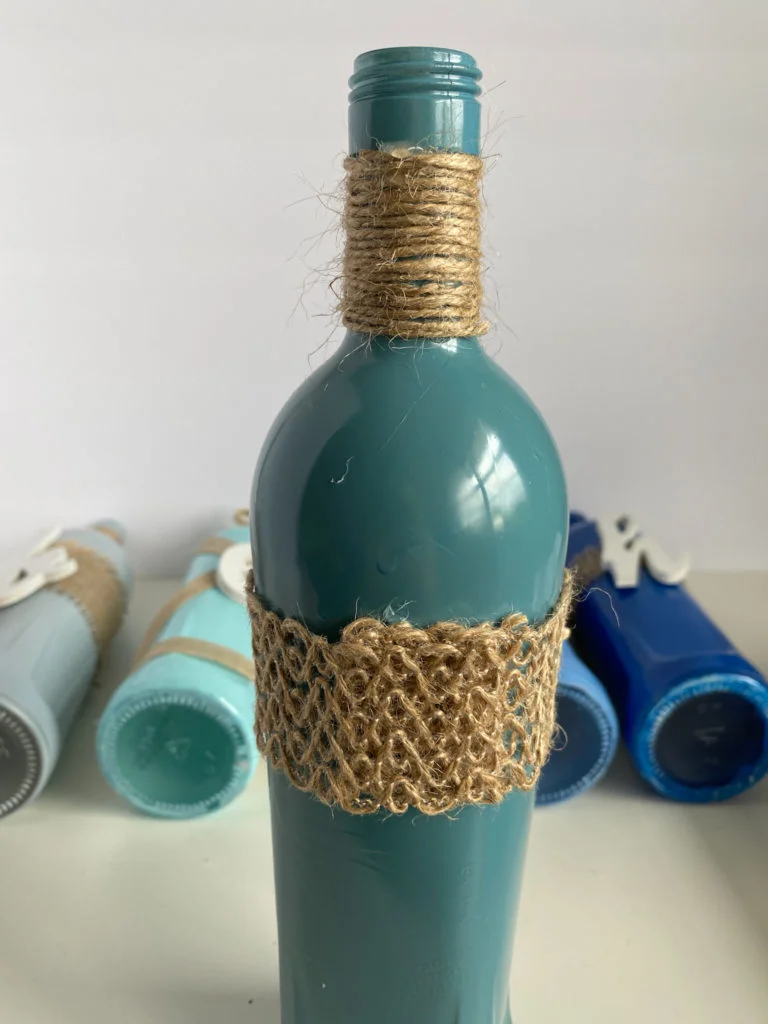
I used a hot glue gun to attach the ribbons to the bottles. Put a stripe of glue along one short edge of the ribbon and carefully hold it against the bottle for about 10 seconds until it is set. Then wrap the ribbon around and repeat the process on the other short edge.
Wrap jute cording around the neck of the bottle by gluing one end at the bottom of the neck on the back of the bottle. Wrap it tightly up to the point where the bottle flares out. Then hot glue the end to the back of the bottle.
Lay the bottles onto their backs. Hot glue the letters to the ribbon on the front of the bottle. Then press gently so the glue goes through the ribbon and onto the glass. That way, the weight of the letters does not make the ribbon sag.
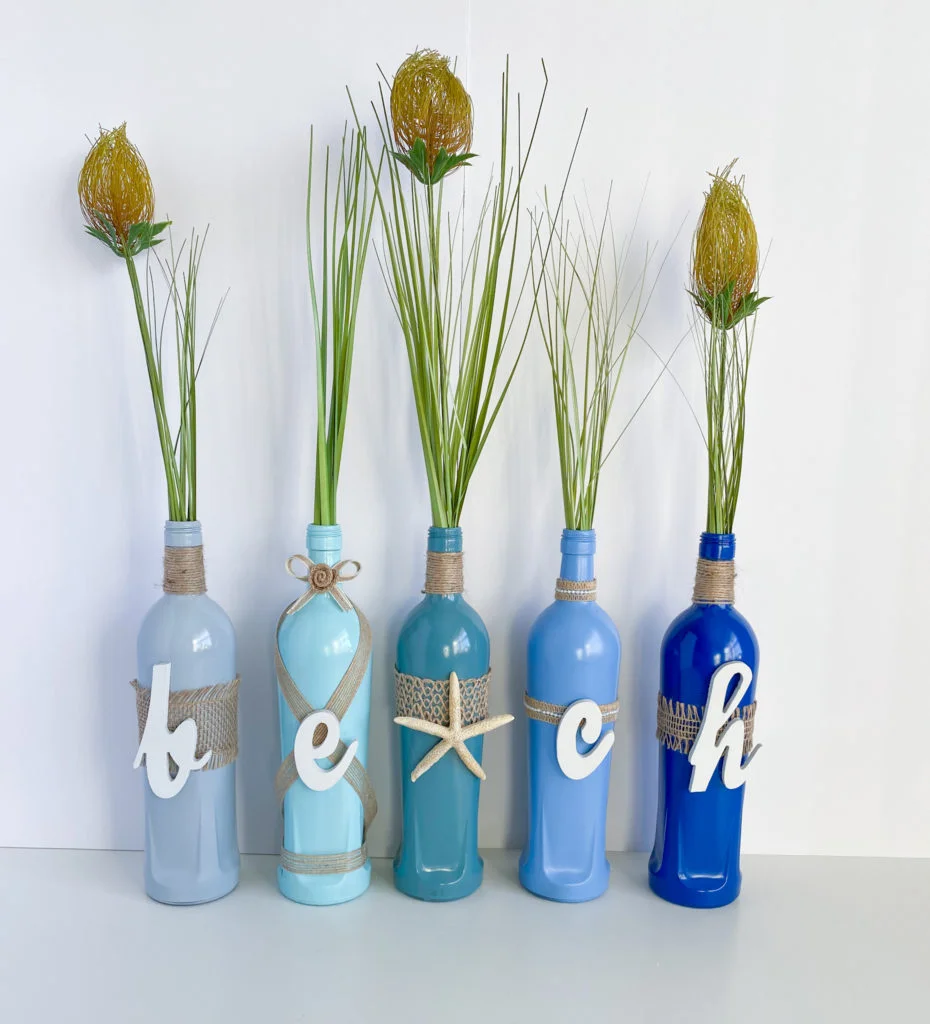
You could use leave the bottles as is, or insert corks or other beachy grass. I found these onion grass sprays on sale at Jo-Ann’s Crafts.
What other types of upcycled bottle decor would you like to see? Let me know in the comment section below.

8 Responses
I do love a good AND easy DIY and these fit the bill! Thank you for the thorough tutorial!
You are welcome! As long as you can work a spray can, you are good to go with this craft!
This was so awesome! I was wondering how you made those beautiful bottles. Definitely going to try it this summer.
It is a great DIY since it does not require any particular expertise, just a desire to make unique home decor!
I love those! I can picture them especially in an Air Bnb. The onion grass is a great touch too!
The onion grass definitely gives it a beachy vibe, as well as some textural interest.
This is such a cute idea and seems so easy to do! I absolutely love the look and like how you can do so much with it to make the bottles your own or to fit your own decoration style/colors. We’re moving into a house at the end of the year, so I will definitely be making these to give our new place a ‘homey’ feel! Thanks for sharing!
There are so many different shades of spray paint available, so it is a quick way to create decor that coordinates with your home’s color scheme.