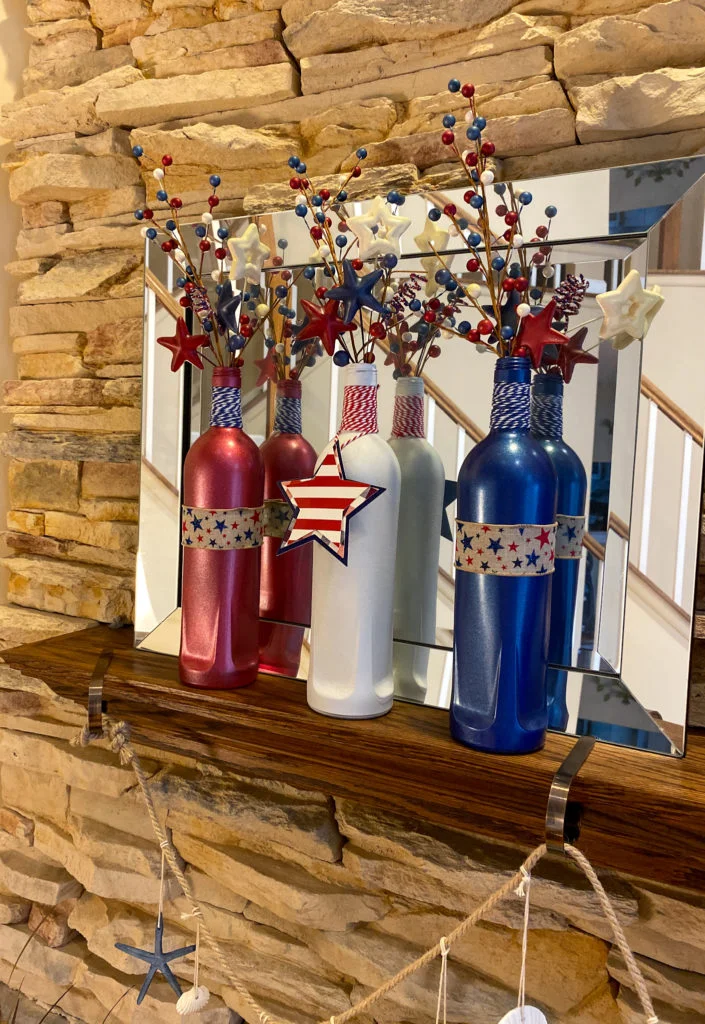
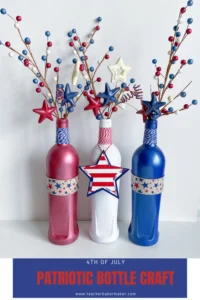
Do you happen to have a few glass bottles lying around? Perhaps during quarantine, you accumulated some empty wine bottles? One of my favorite crafts is to make decorated glass bottles for different occasions. Not only do they look festive on a mantel or as a centerpiece, but it is a great way to upcycle the bottles. With Independence Day coming up, this patriotic 4th of July bottle craft would be the perfect way to dress up your picnic table.
The bottles I used are Ningxia Red bottles. You could use any type of glass bottle or mason jars for these as well. I started drinking Ningxia Red, which is a super anti-oxidant juice, two years ago to boost my immune system. Anyone who works in an elementary school can tell you that this is so important, being that we are exposed to all sorts of germs on a daily basis! I combine 2 ounces of this juice with about 24 ounces of water. So I go through two bottles of Ningxia Red each month.
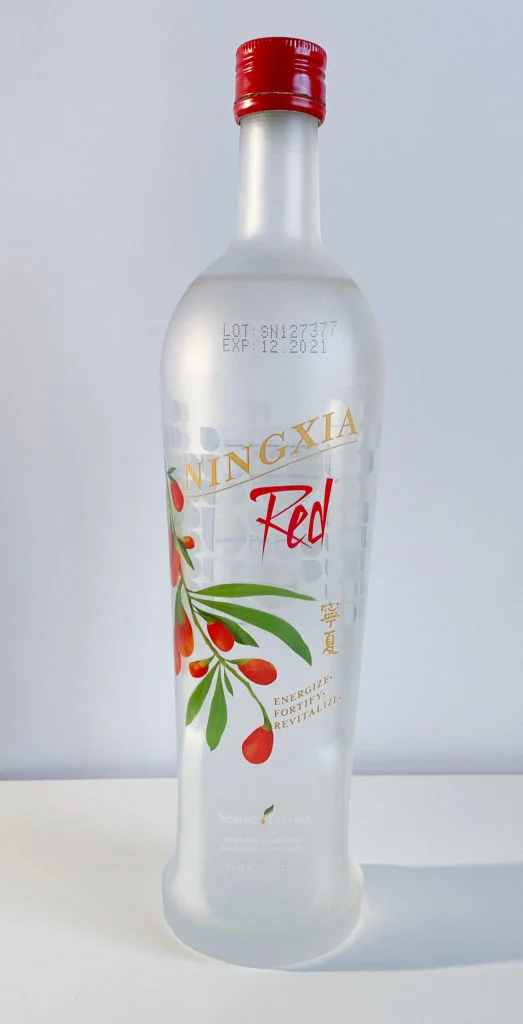
The glass bottle that the Ningxia Red comes in is really attractive. It is squared off near the bottom, giving it a unique shape. I thought it would be a shame to just toss these in the recycling bin. I decided to upcycle them instead. Since I started drinking this juice, the town I live in no longer accepts glass for recycling, which gives me even more of a reason to use the bottles for crafts.
My blog posts contain affiliate links. These don’t cost you anything, but they allow me to continue running this site and providing free content for my readers. Full disclosure here.
Supplies
- Glass bottles – you can use a combination of different heights and shapes if you want to
- Trifold board or cardboard box to use as a spray box
- Newspaper or drop cloth
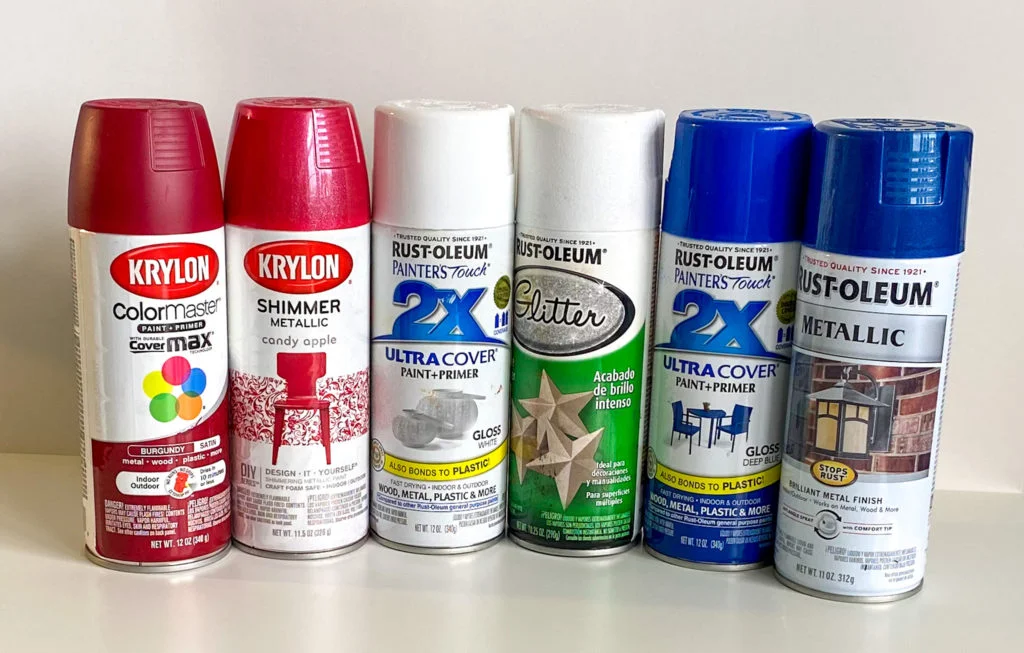
- Spray paint – I used Krylon Color Master Paint + Primer in Burgundy Satin, Rust-Oleum 2X Ultra Cover Paint + Primer in Gloss White, Rust-Oleum 2X Ultra Cover Paint + Primer in Gloss Deep Blue, Krylon Shimmer Metallic in Candy Apple, Rust-Oleum Pearl White Glitter, and Rust-Oleum Metallic in Cobalt Blue
- Rubber gloves and a mask
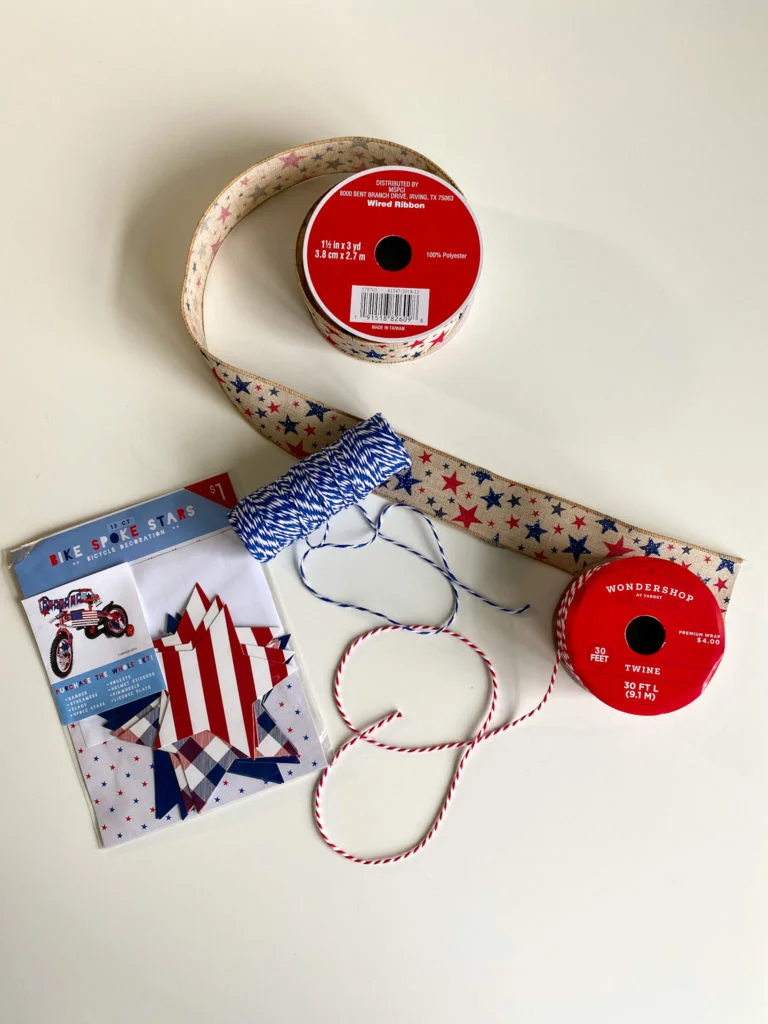
- Red/white and blue/white baker’s twine
- 1 1/2 inch wide ribbon
- Clear tape, craft glue, or hot glue/glue gun
- Patriotic picks/sprays – I used 2 per bottle
Step by Step Directions
- Make sure to wash the inside and outside of the bottle thoroughly with soap and water. This juice has essential oils in it. I have discovered that if I don’t wash the outside of the bottle, there could be an oil residue that I can’t feel. However, spray paint will not stick to that spot. So a couple of extra seconds of washing the bottle will save you a headache when you get to the painting step. If your bottle has an adhesive label, you will need to remove it. The labels on my bottle are printed directly onto the glass, so they are not removable.
2. Use heavy duty shears to cut off the ring around the neck of the bottle.
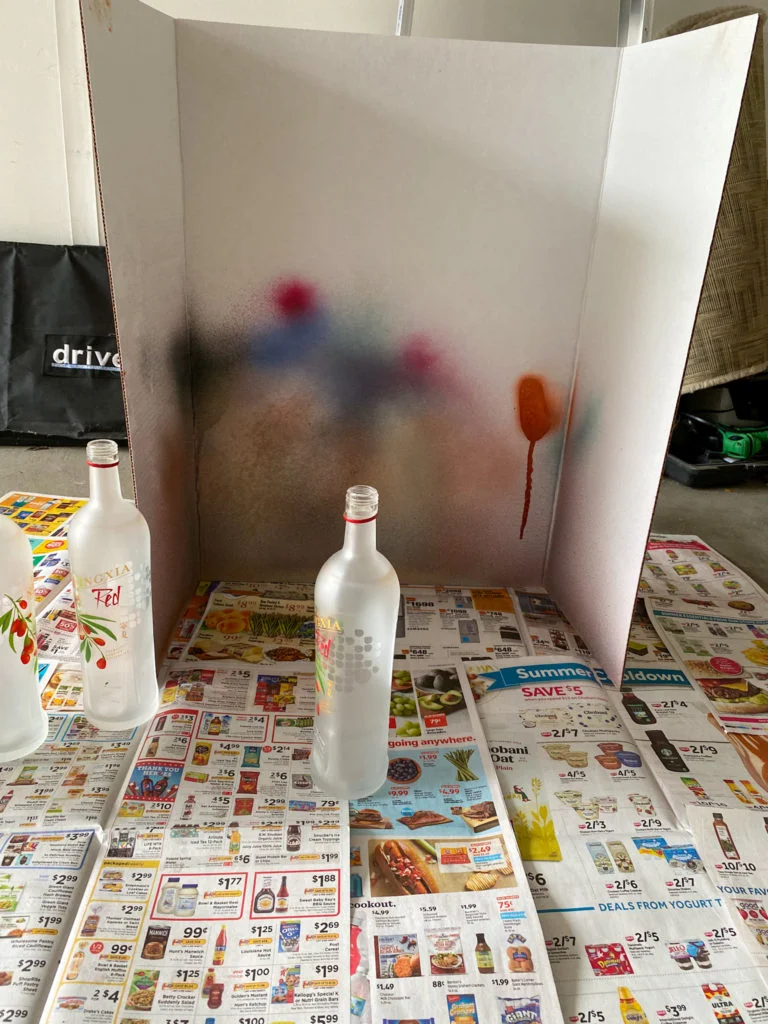
3. Set up your spray painting workspace. Spray paint has a tendency to blow around a bit, even when there is no breeze. So you want to cover your workspace with newspapers or drop cloths. I do this in my garage, and use a dollar store trifold cardboard as my “spray box.” As you can see, I use this board over and over again. It has more than paid for itself!
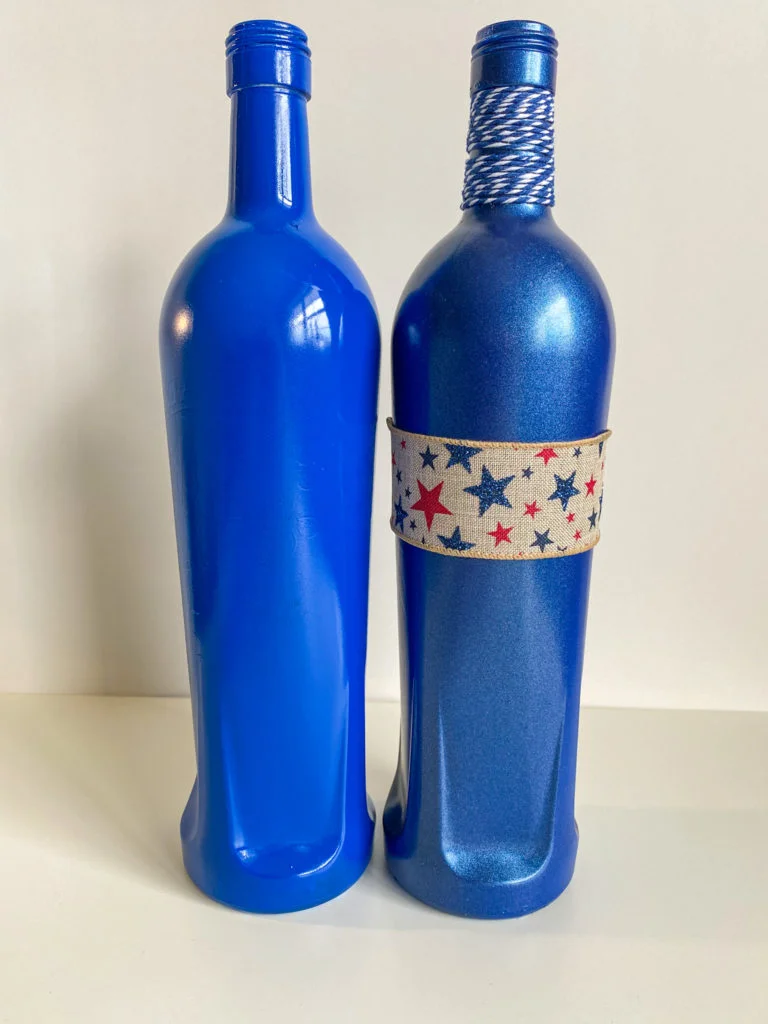
4. Now for the fun part – spray painting! I wanted my bottles to have a metallic, shimmery finish to them. However, since I had to cover the labels that were printed onto the glass bottles, I needed to prime the bottles first. I probably could have skipped the priming step on the red and blue bottles, and just used more coats of the metallic paint. Instead, I took the safe route. I used two light coats of primer on each bottle: Krylon Color Master Paint + Primer in Burgundy Satin, Rust-Oleum 2X Ultra Cover Paint + Primer in Gloss White, and Rust-Oleum 2X Ultra Cover Paint + Primer in Gloss Deep Blue. You can usually get these at a home improvement store or hardware store for a much better price than the craft stores.
Wear rubber gloves unless you don’t mind getting paint all over your hands! When it is time to move the bottles, I find it easiest to put my pointer finger into the neck of the bottle and gently lift it out of the way.
TIP #1: Wear a mask. If you don’t, you will discover just how “festive” your respiratory system has become when you blow your nose later.
Shake the can for at least one minute, then spray on a light coat. Krylon recommends holding the can 6″ to 8″ from the surface. The Rust-Oleum brand recommends holding it 10″ to 16″ away. Both brands recommend doing this when the air temperature is between 50 and 90 degrees Fahrenheit. Krylon recommends humidity below 85%, and Rust-Oleum recommends the humidity be less than 65%. It is okay if you can still see the print on the bottle showing through after the first coat. You want to do light coats, rather than a thick coat, or else it will drip.
TIP #2: Make sure you move the other bottles out of the “overspray” distance. That way you won’t accidentally get dots of the wrong color paint on your bottles.
TIP #3: No matter how neat of a spray painter you think you are, wear old clothes and shoes. The overspray might end up lightly coating you as well. I wore flip-flops, and ended up with a blue hue on my feet!
5. After a few minutes, spray on a second light coat.
6. For the metallic coats, I used Krylon Shimmer Metallic in Candy Apple, Rust-Oleum Glitter, and Rust-Oleum Metallic in Cobalt Blue. Unfortunately, I could not find white metallic spray paint. I instead went with the Glitter spray thinking it was white glitter since the picture on the can shows white stars. It turns out that this is just a very subtle clear glitter coat. Had I known that, I would have done another coat or two of the primer since the label was not completely hidden. (You can now get white glitter spray paint here.) Rather than start over, I just decided I would put the label side of the bottle towards the back.
The Krylon Shimmer paint can says to shake it for at least two minutes. This is important with metallic paints since you want the shimmer to be evenly distributed. I applied two coats of the metallic/glitter paints, waiting a couple of minutes between coats.
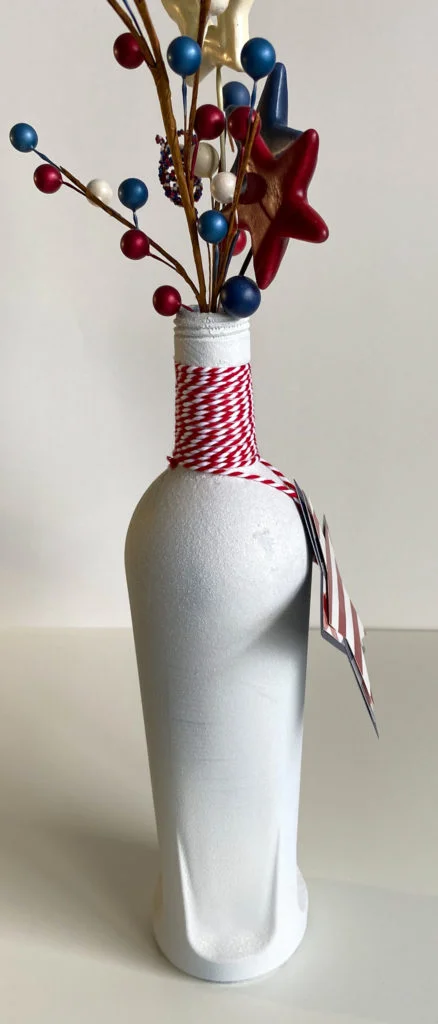
7. After letting the bottles dry overnight, it was time to add the “extras” to them. I wrapped the neck of each bottle in baker’s twine. You can find twine in all different colors in the gift wrap and party supply aisles of the craft store. I happened to have some leftover red and white twine I had picked up at an after-Christmas sale at Target.
Begin by putting a little bit of clear tape on the end of the twine and tape it to the lower end of the neck of the bottle. Wind your way up until you get where the neck gets wider. I just used clear tape on the back of the bottle to attach it, thinking that I could switch out the twine for different holidays. Well, since I have so many empty bottles, I decided to make new bottles for each holiday and never removed the decorations from these. A year later, the tape is still holding on fine! Since I display these on the mantel, it does not matter what the back looks like. But if you are going to use these as a centerpiece, you can use hot glue or craft glue to attach the twine to the bottle.
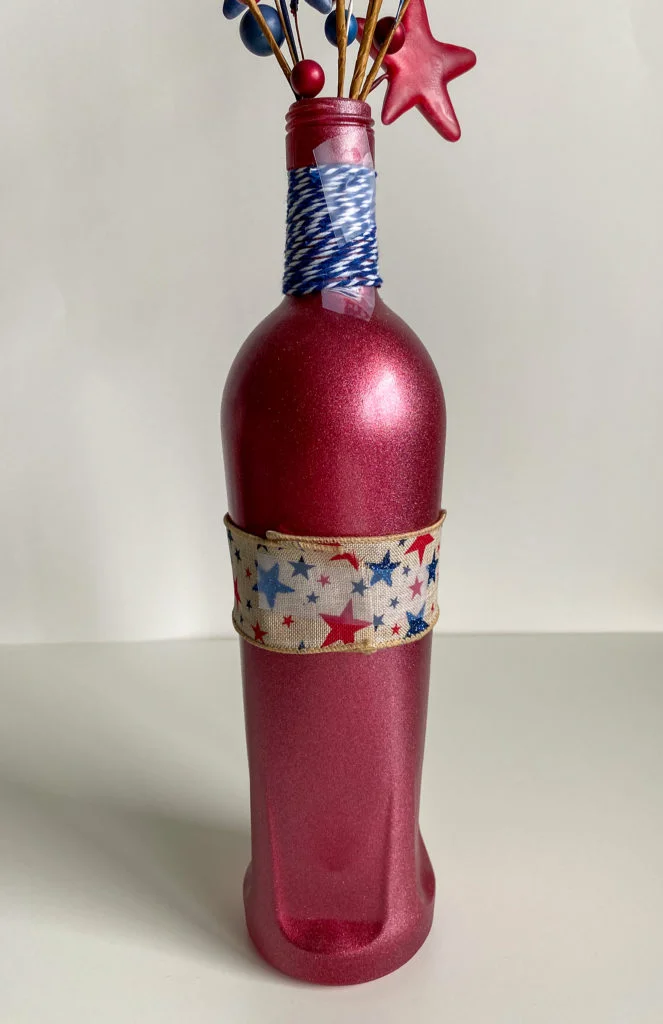
8. I wanted a more antiqued look. Rather than going with a ribbon with a white background, I chose a burlap ribbon with shimmery red and blue stars. I bought it last year at Michael’s on a 3-yard spool. Again, I just used clear tape to attach it to the bottle and then wrapped it around once. Then I folded over the end to hide the raw edge. I used clear tape at the other end, but you can use craft glue or hot glue.
9. At Bullseye’s Playground in Target last year, they had patriotic bicycle decorations. I layered the three types of stars and glued them with craft glue. Then I glued a loop of red and white twine to the back of the star and hung it around the neck of the bottle.
10. I used two types of picks in each bottle, but in a rustic red, white, and blue color scheme. I picked these up last year at Hobby Lobby. You can usually find similar ones in the holiday/seasonal section of the craft store. You might find them in the regular floral section as well.
Altogether, this craft takes about an hour of hands-on time, plus 24 hours of drying time. You will only be using a little bit of spray paint on each bottle. You will have plenty left over for future projects.
What other holidays or occasions would you like to see bottle decor for? I would love to hear your suggestions in the Comment section below.